The difference between a pool that lasts 30 years and one that cracks in five usually comes down to the first two weeks of planning. Skipped soil tests, vague permits, and undersized plumbing cost homeowners tens of thousands in avoidable repairs.
Most of those mistakes get locked in before construction even starts.
Understanding how to construct a swimming pool matters long before you break ground. The swimming pool construction process pulls in engineering, drainage, electrical, and local code. Get the sequence wrong and you pay twice.
At Mission Pools, we’ve guided homeowners through builds since 1960, so we know exactly where projects go sideways.
The swimming pool construction process involves dozens of moving parts, and each one depends on decisions made weeks earlier. Skip the planning stage and you risk blowing your budget, missing a permit deadline, or ending up with a pool that doesn’t fit your household.
That’s why experienced builders and designers should come in early.
They’ll evaluate your soil conditions, check drainage patterns, and flag setback conflicts before they become expensive problems.
Solid planning also keeps the build itself on schedule. Contractors who work from detailed drawings know their sequencing, subcontractors stay aligned, and you avoid the mid-project redesign that adds weeks and thousands to the final price.
Before you sketch a shape, get clear on how your household will actually use the pool. A family that needs a shallow play area requires a completely different layout than someone training for triathlons.
As House Digest points out, your lifestyle should guide every design decision from the start.
Your intended use directly shapes the structure. Relaxation pools lean toward freeform curves and integrated spas, while fitness pools work best as long, narrow rectangles. Entertaining setups often pair vanishing edges with generous deck space for seating.
Once you’ve locked in your priorities, working with a team that understands modern swimming pool designs turns a loose vision into a build-ready plan.
Your backyard has its own personality, and the construction plan needs to respect it. A thorough site evaluation is where your builder translates raw land into a buildable pool layout.
Soil type directly affects excavation cost, structural engineering, and long-term pool performance. Expansive clay, for example, absorbs moisture and swells. Without the right shell design, that movement alone can crack a pool from the inside out.
Sandy or loose soils create a different problem, often requiring compaction or over-excavation to build a stable base.
As PoolPro Magazine explains, soil issues are the most common culprit behind failed pool builds. A geotechnical report measures bearing capacity, groundwater levels, and expansion risk so your builder can adjust shell thickness, rebar spacing, and drainage accordingly.
Available space drives pool size, shape, and orientation. Your builder starts by measuring the lot, locating property lines, and identifying setback requirements that dictate how far the pool must sit from fences, structures, and utility easements.
Keep in mind that the pool itself is only part of the footprint. You also need room for:
Sun exposure influences water temperature, chemical consumption, and overall comfort.
A pool oriented to catch afternoon sun stays warmer naturally and reduces heater demand. At the same time, shade structures or mature trees nearby can help balance heat during peak summer months.
Drainage is equally important. Rain, irrigation, and splash-out all need a clear path away from both the pool and your house foundation. Proper grading should slope at least one inch per foot for the first ten feet around a structure.
That keeps decks dry, prevents shell erosion, and eliminates standing water.
With site data locked in, our team moves into working drawings. These construction-ready documents include detailed 2D drawings, 3D renderings, and structural engineering plans that cover every load-bearing element of your pool.
Engineering plans specify rebar placement, shell thickness, beam design, plumbing runs, and electrical layouts.
In California, pool plans must be prepared by a licensed engineer in accordance with the California Building Standards Code. Beyond permits, proper engineering protects your pool from cracking, settling, and premature failure.
A well-documented design package also keeps the build efficient. Contractors price the job accurately, schedule subcontractors in sequence, and avoid costly field changes.
Permits are part of our design phase at Mission Pools, because waiting until later creates unnecessary delays. Every city and county in California requires a building permit before excavation begins, and most require separate approvals for electrical, plumbing, and fencing.
Safety codes add another layer. The California Swimming Pool Safety Act mandates that every new or remodeled pool include at least two approved drowning prevention features, such as barriers, alarms, or safety covers. Barrier fencing must stand at least five feet tall with self-closing, self-latching gates.
Our team manages this entire process so you avoid chasing paperwork between departments.
We know which inspections happen at each stage and schedule accordingly to keep your project on track.
With permits secured, the layout and excavation phase begins. This is often the fastest-moving stage in the swimming pool construction process.
Heavy equipment carves out the pool shape to exact engineering specs, digging to specified depths for the shell, plumbing trenches, benches, steps, and spa zones. Excess soil is hauled off or redistributed on-site for future landscaping.
What follows is just as critical. Crews grade and compact the base to create a uniform surface. Without this step, uneven pressure builds across the shell, and that pressure eventually turns into cracks.
Creating the steel frame is where your pool’s structural backbone takes shape. Workers tie reinforcing bars into a cage that follows every contour, step, bench, and spa transition. Each bar is spaced and overlapped according to the engineering plan to resist both soil pressure and water weight.
Before any concrete is applied, a city inspector verifies the entire layout. This checkpoint is critical because rebar mistakes buried under gunite are nearly impossible to correct after the fact.
With the steel framework set, our plumbing team runs circulation lines, main drains, skimmers, returns, and water feature plumbing. Proper pipe sizing at this stage optimizes equipment efficiency and reduces long-term energy consumption and maintenance costs.
Electricians pull conduit for lighting, pumps, heaters, and automation panels. Every line is pressure-tested before concrete covers it because a leak buried under six inches of gunite is one of the most expensive repairs in pool construction.
A city inspector approves both systems before the build moves forward.
This is where concrete swimming pool construction comes to life. Our crew applies shotcrete over the rebar cage at high velocity, building up the walls and floor to a thickness that exceeds standard engineering specifications.
Gunite combines dry material with water at the nozzle, while shotcrete arrives pre-mixed and is applied wet. Both produce dense, structural shells when placed by a skilled crew. As the American Shotcrete Association reports, properly placed shells should reach a minimum 4,000 PSI compressive strength for long-term durability and watertightness.
After the shell is shot, curing begins immediately. Crews keep the concrete moist for roughly seven days, allowing it to reach peak hardness and reducing the risk of shrinkage cracks.
Rushing this stage weakens the final structure significantly. Builders monitor moisture levels throughout and protect the shell from rapid drying, which is especially critical in Southern California heat where high temperatures accelerate evaporation and compromise long-term durability.
The plaster and filling stage determines what you see and feel every time you swim. At Mission Pools, we apply the interior finish to create a smooth, durable surface that also shapes the water’s final color and hue.
Your finish choice also affects water chemistry. Rougher surfaces can harbor algae more easily, while smoother finishes simplify your cleaning routine.
Coping and tile work caps the top edge of the pool shell, locking it to the deck structurally while creating the most visible design detail at water level.
We also apply finishes to grottos, waterfalls, and other decorative features during this phase.
Common materials include natural stone (travertine, limestone, flagstone), precast concrete, and brick. Whatever you choose, make sure it’s slip-resistant and cool underfoot, especially in a climate where bare feet are the norm year-round.
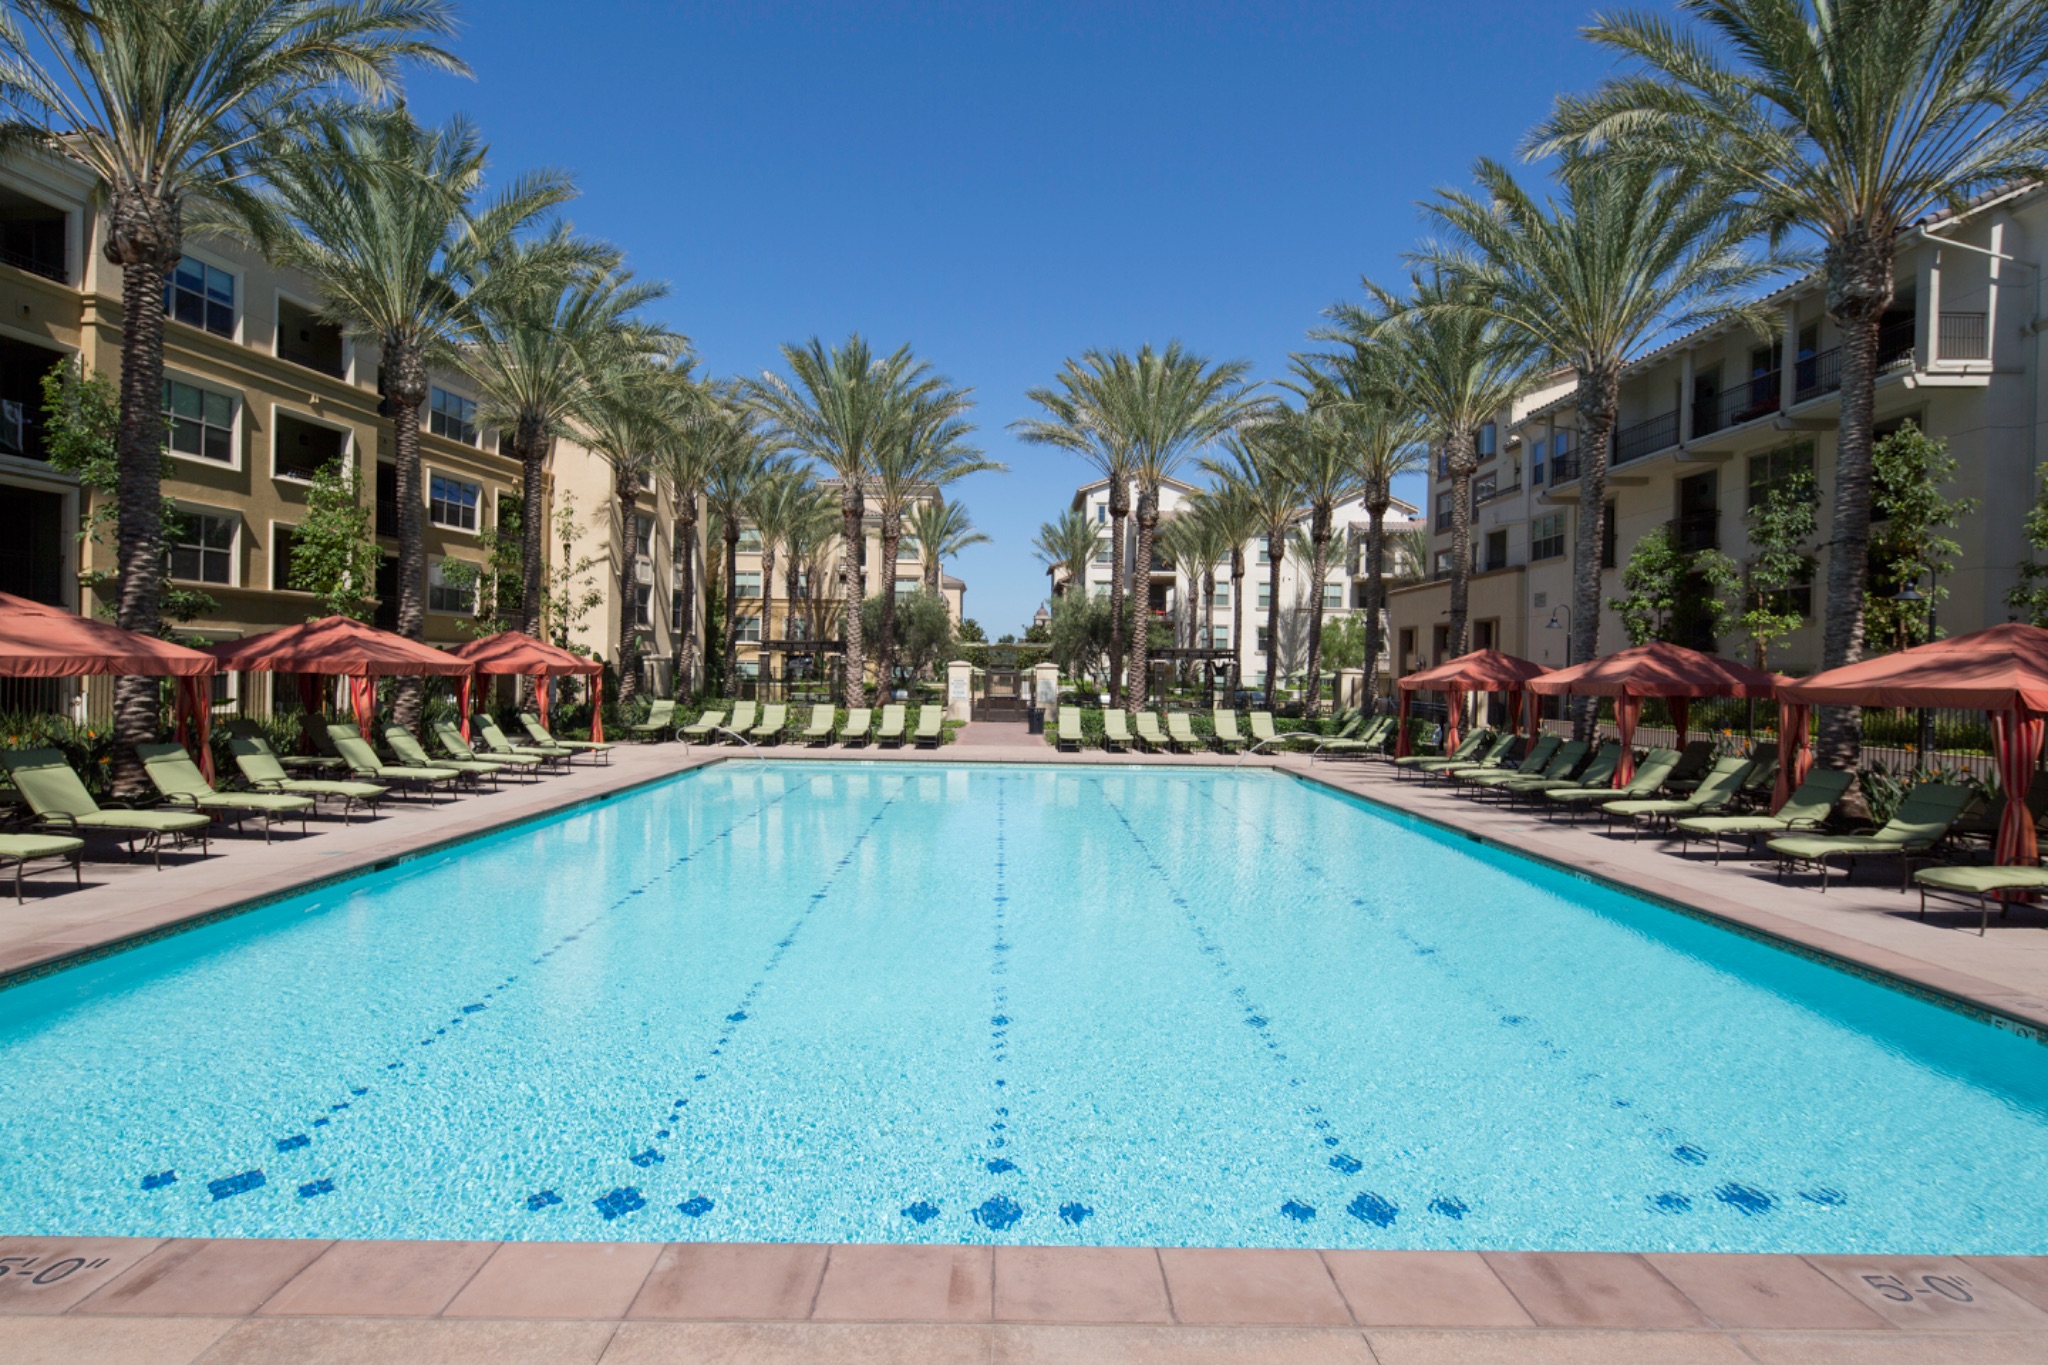
Your deck extends the living space right to the water’s edge. Popular materials include stamped concrete, interlocking pavers, travertine, and textured acrylic coatings.
Grading must direct water away from both the pool and your house. Non-slip texture is essential around wet zones. And you’ll want adequate space for lounge chairs, dining, and foot traffic so the area stays functional and comfortable.
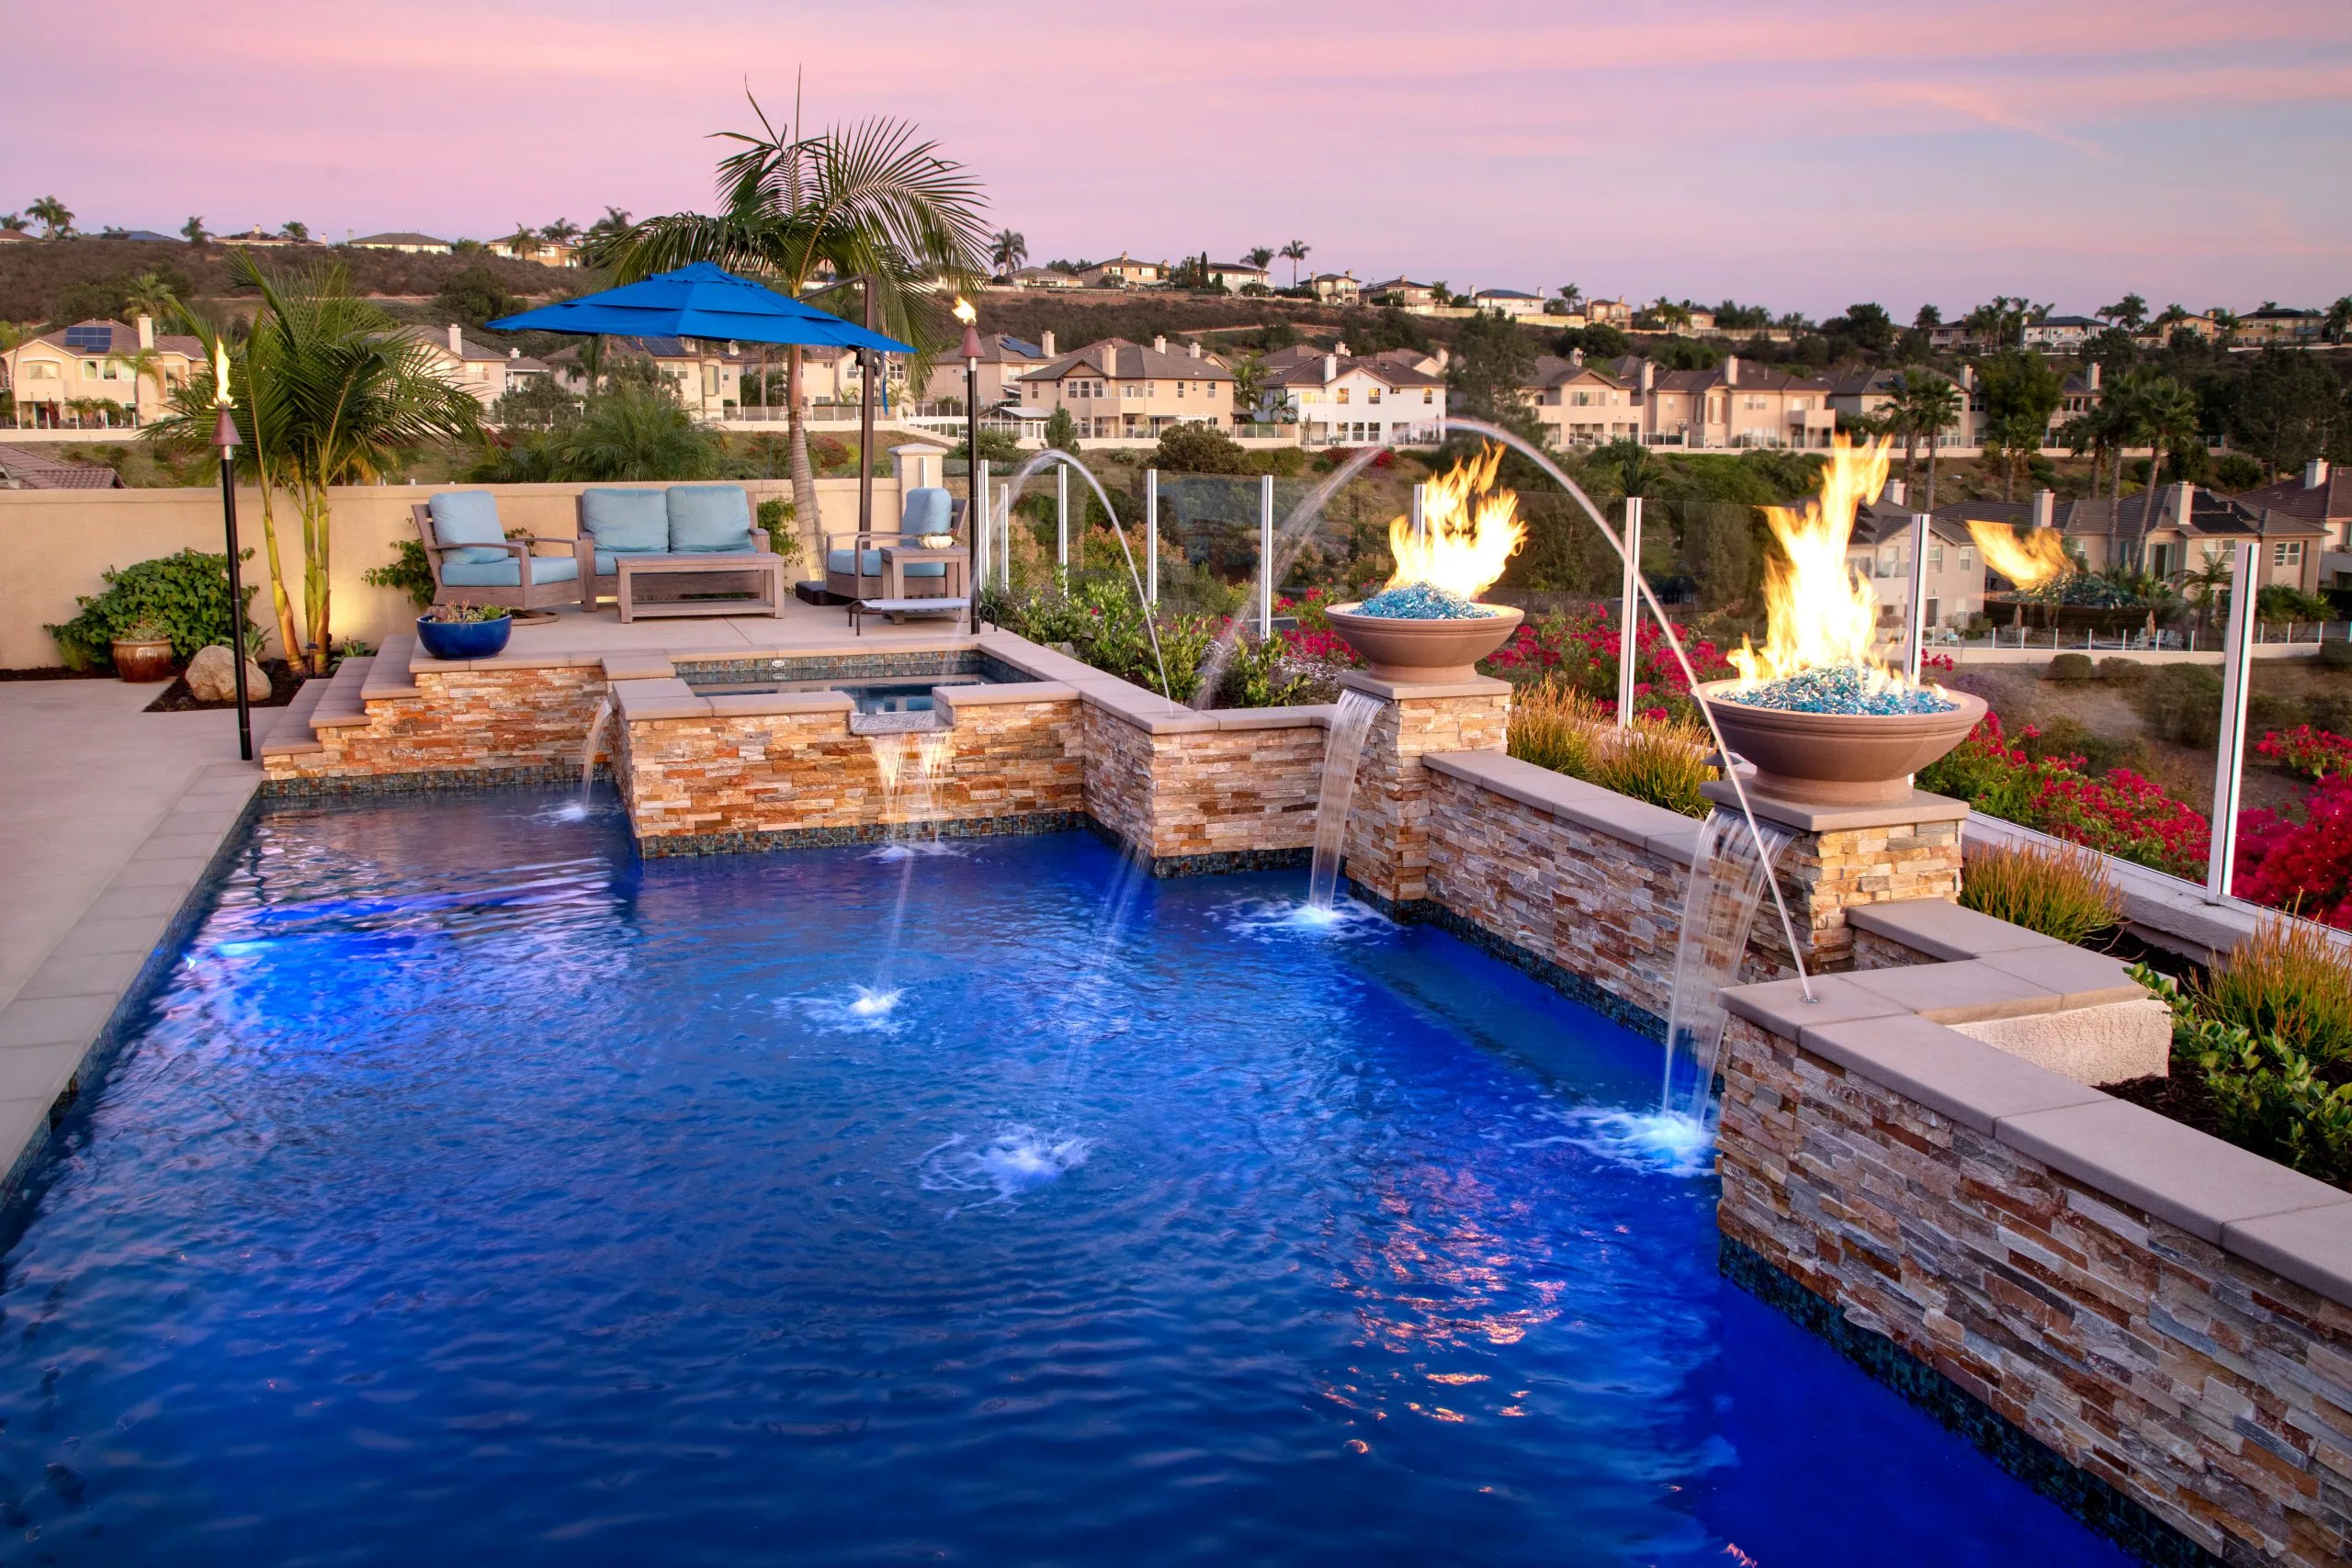
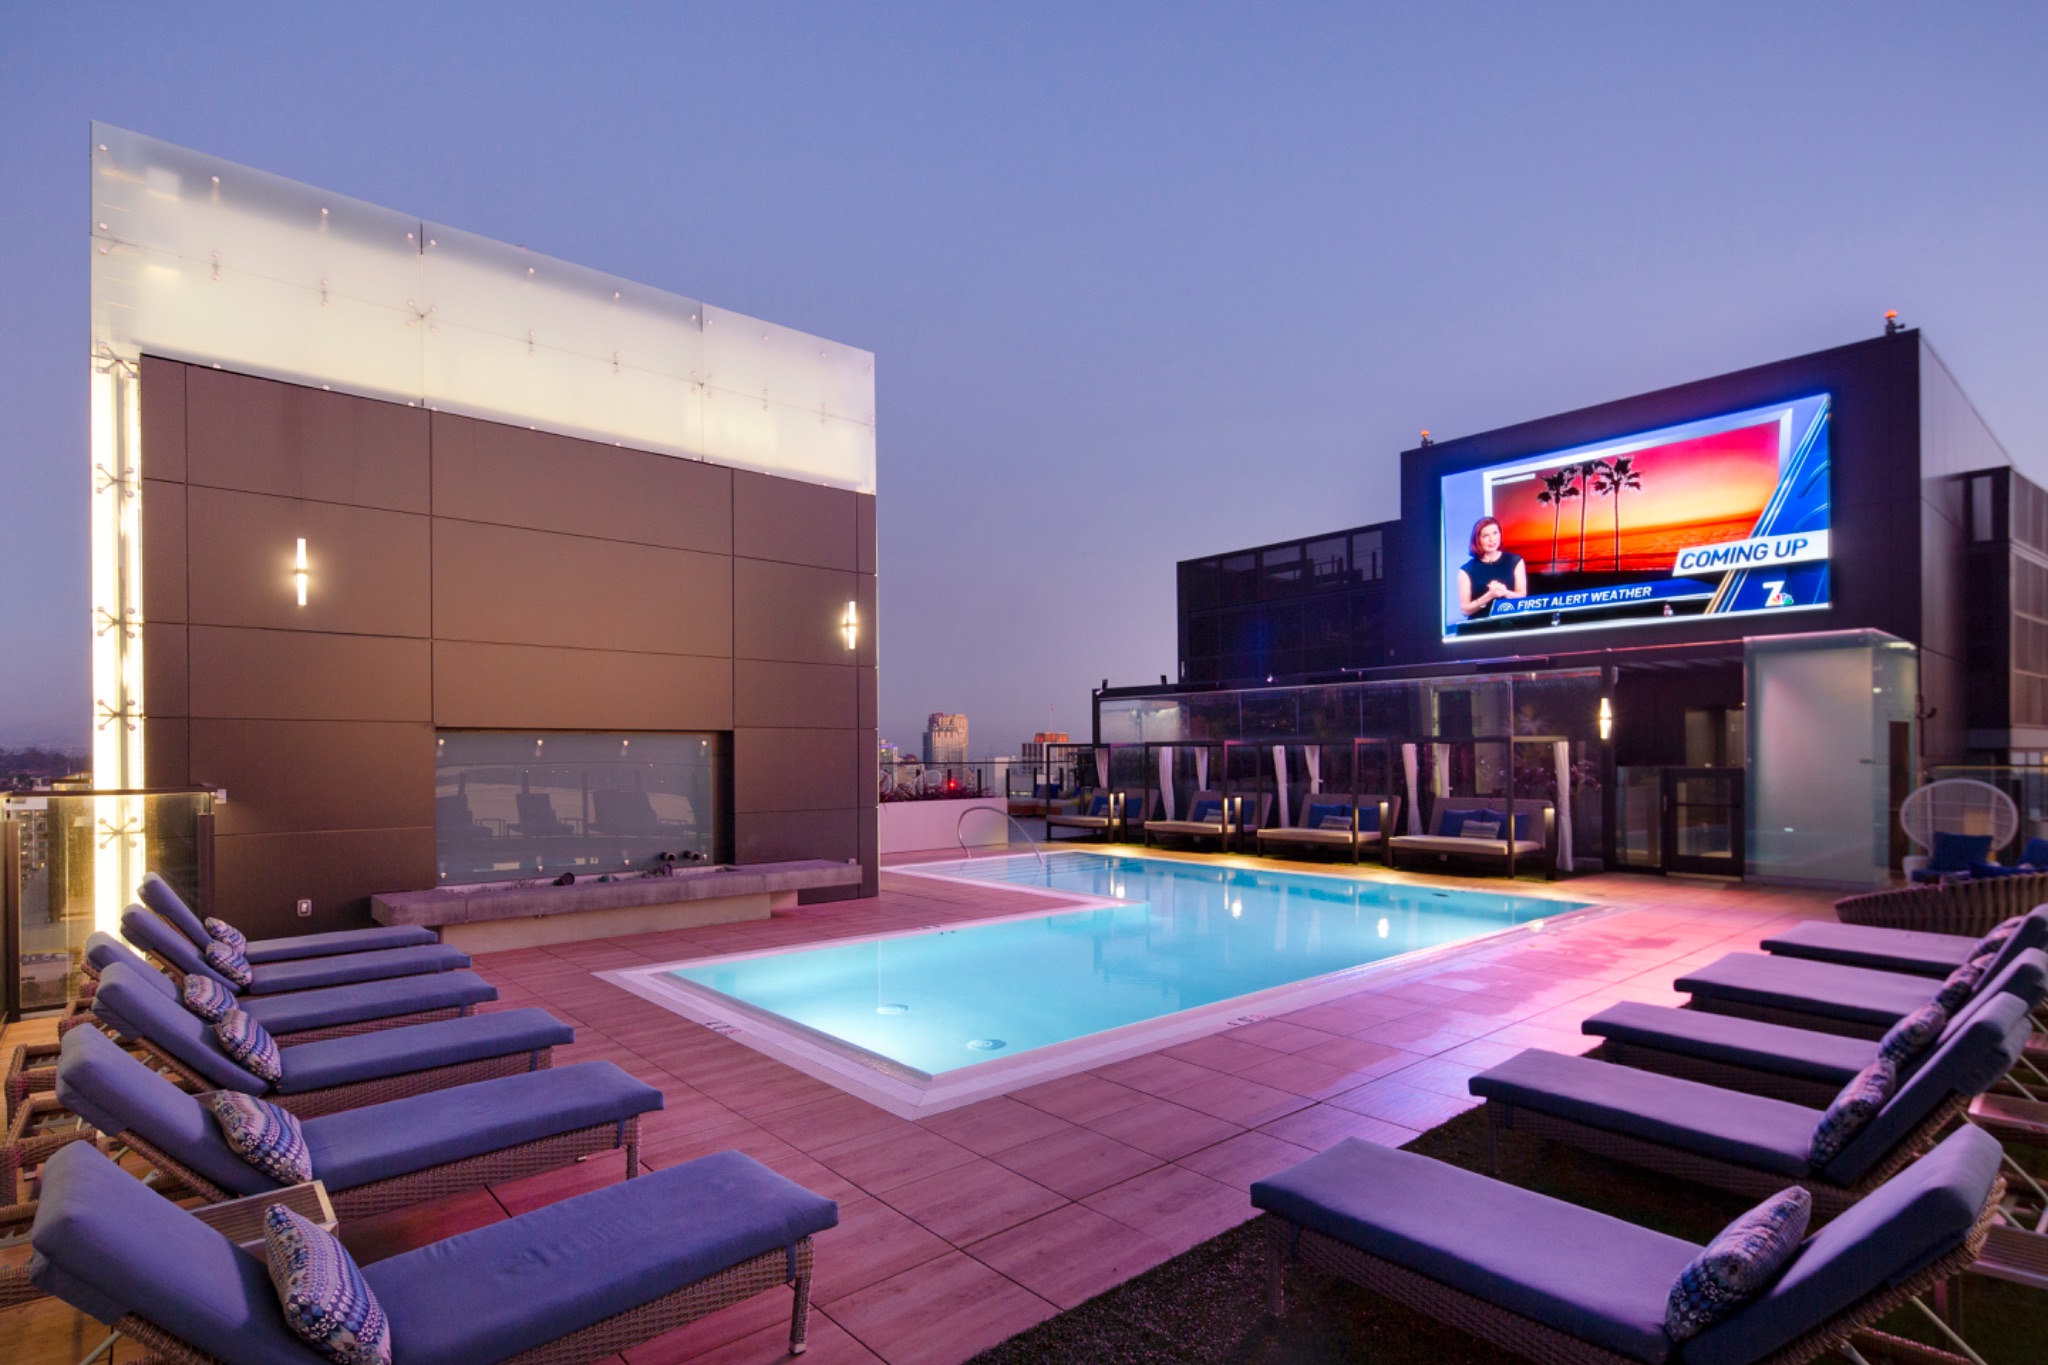
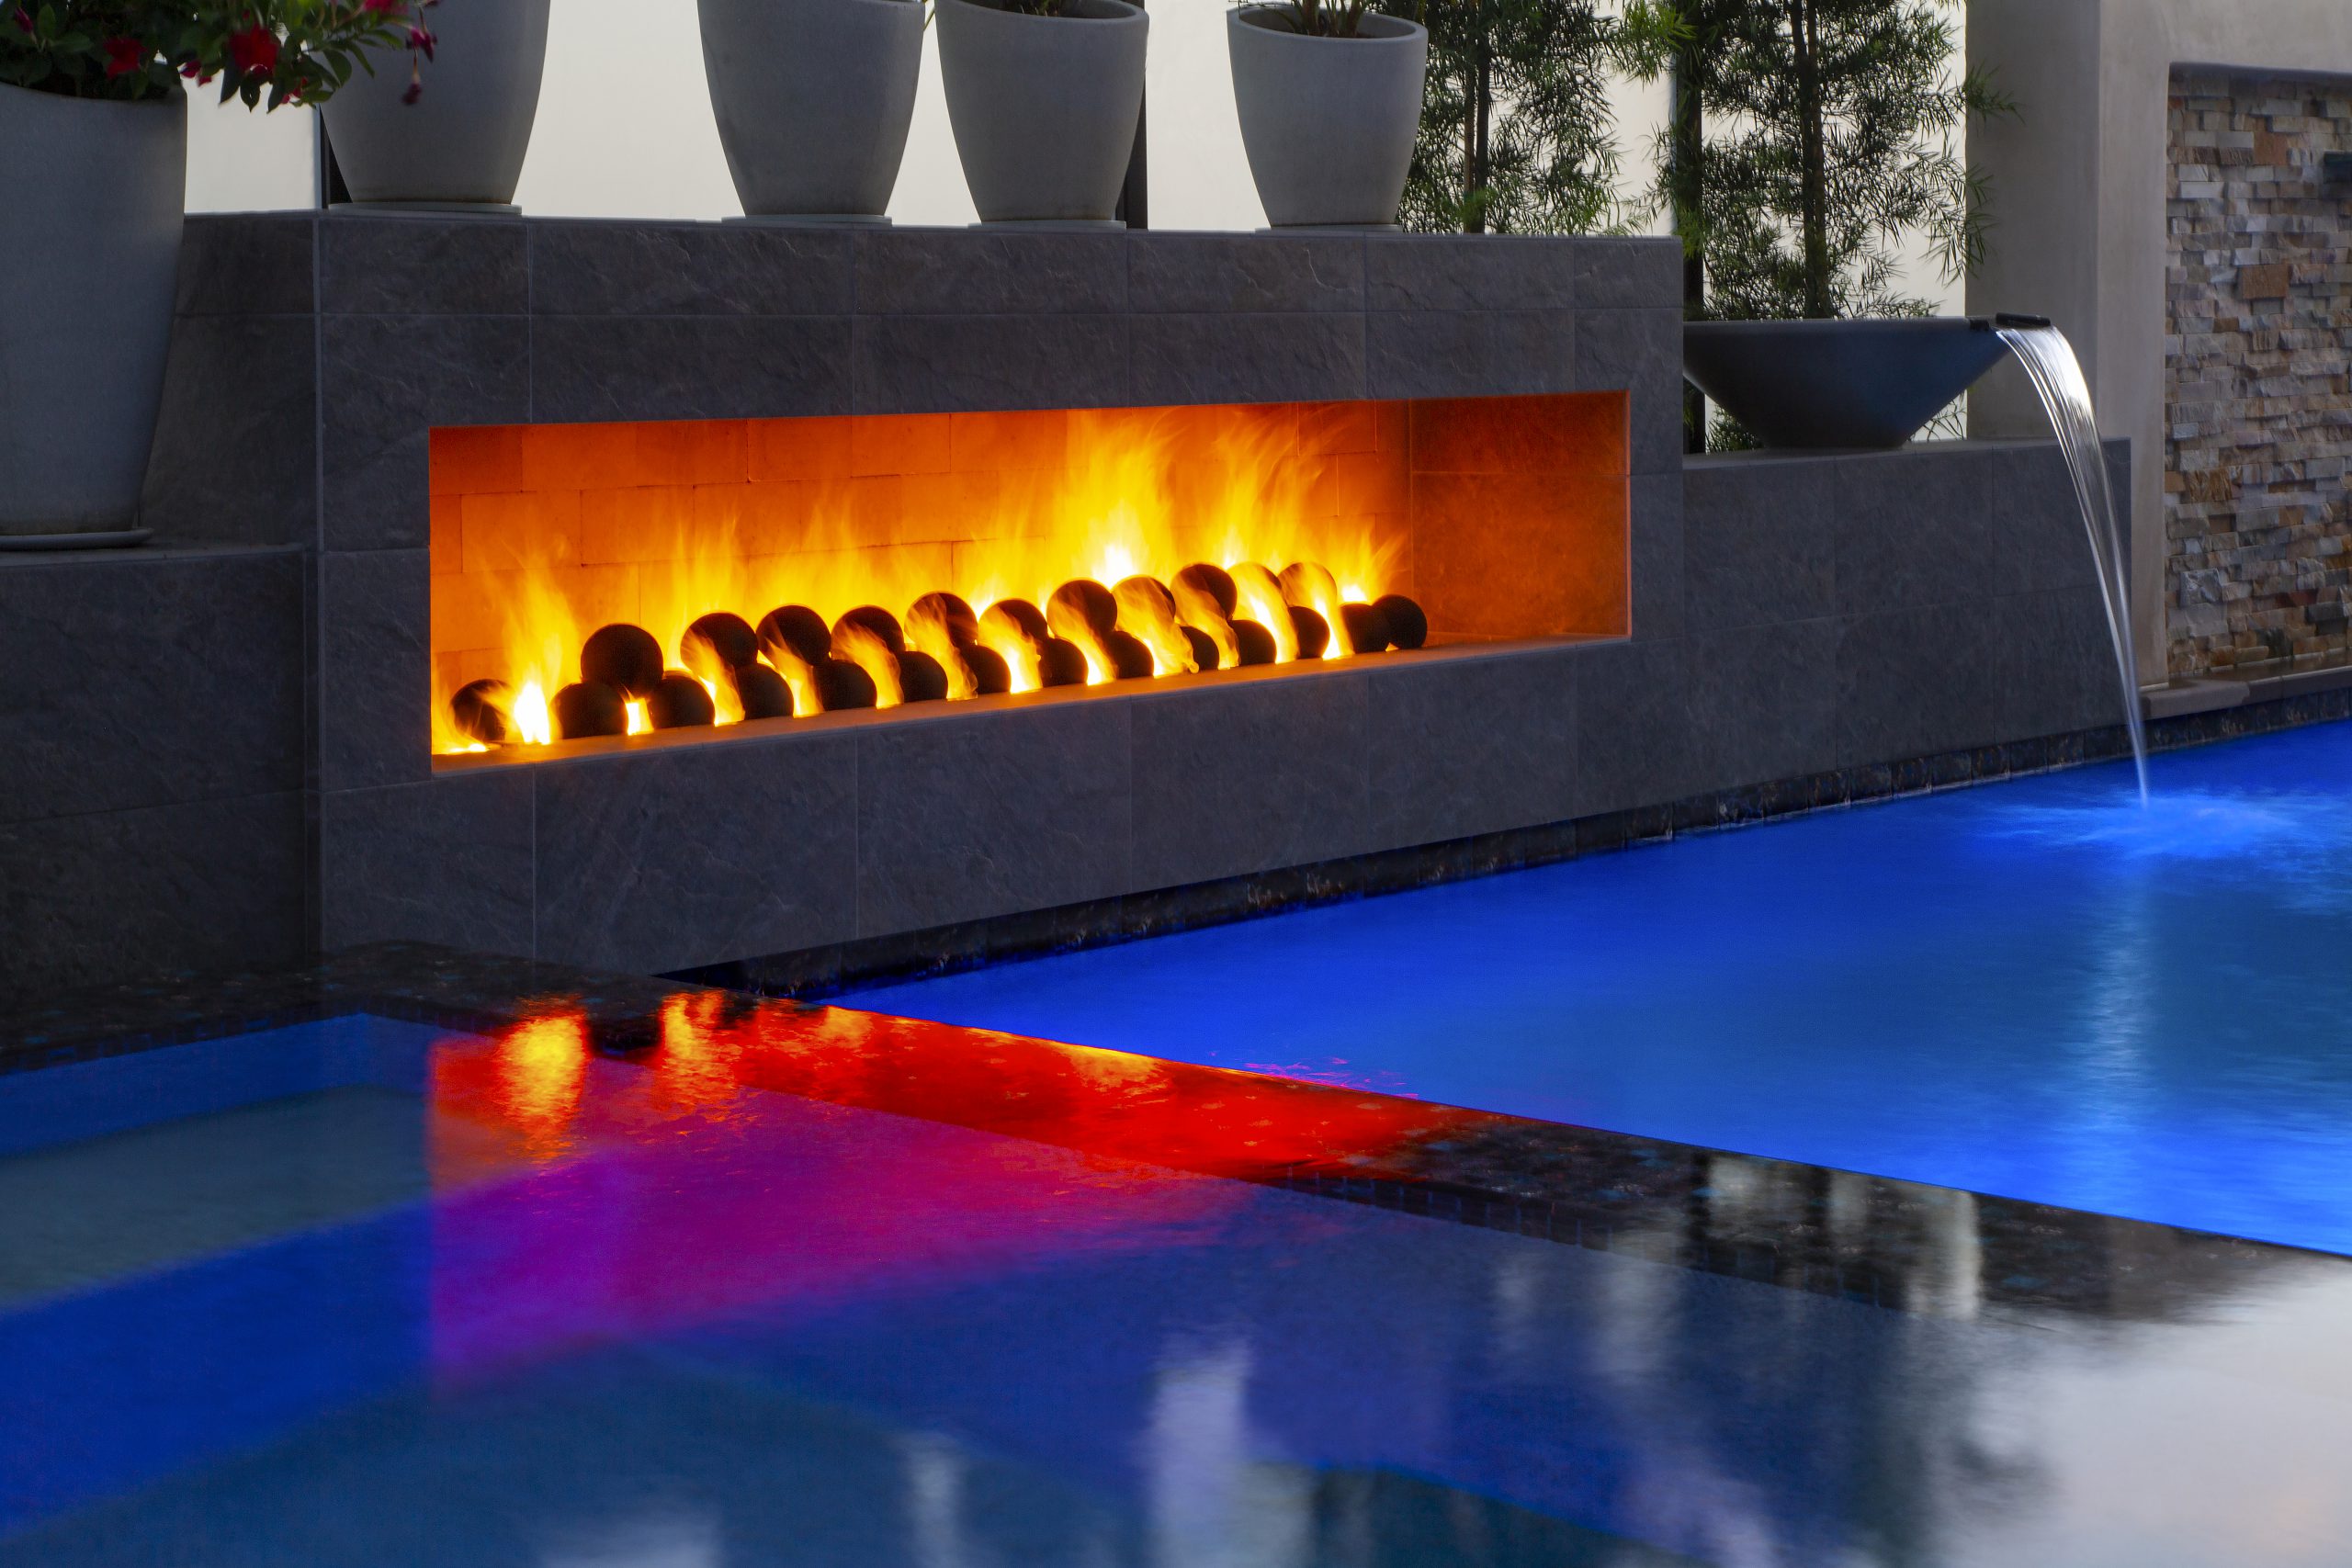
This is where your pool becomes a full outdoor living environment. Waterfalls add sound and movement.
Fire bowls create ambiance for evening use. Integrated spas provide year-round value even when the pool feels too cool.
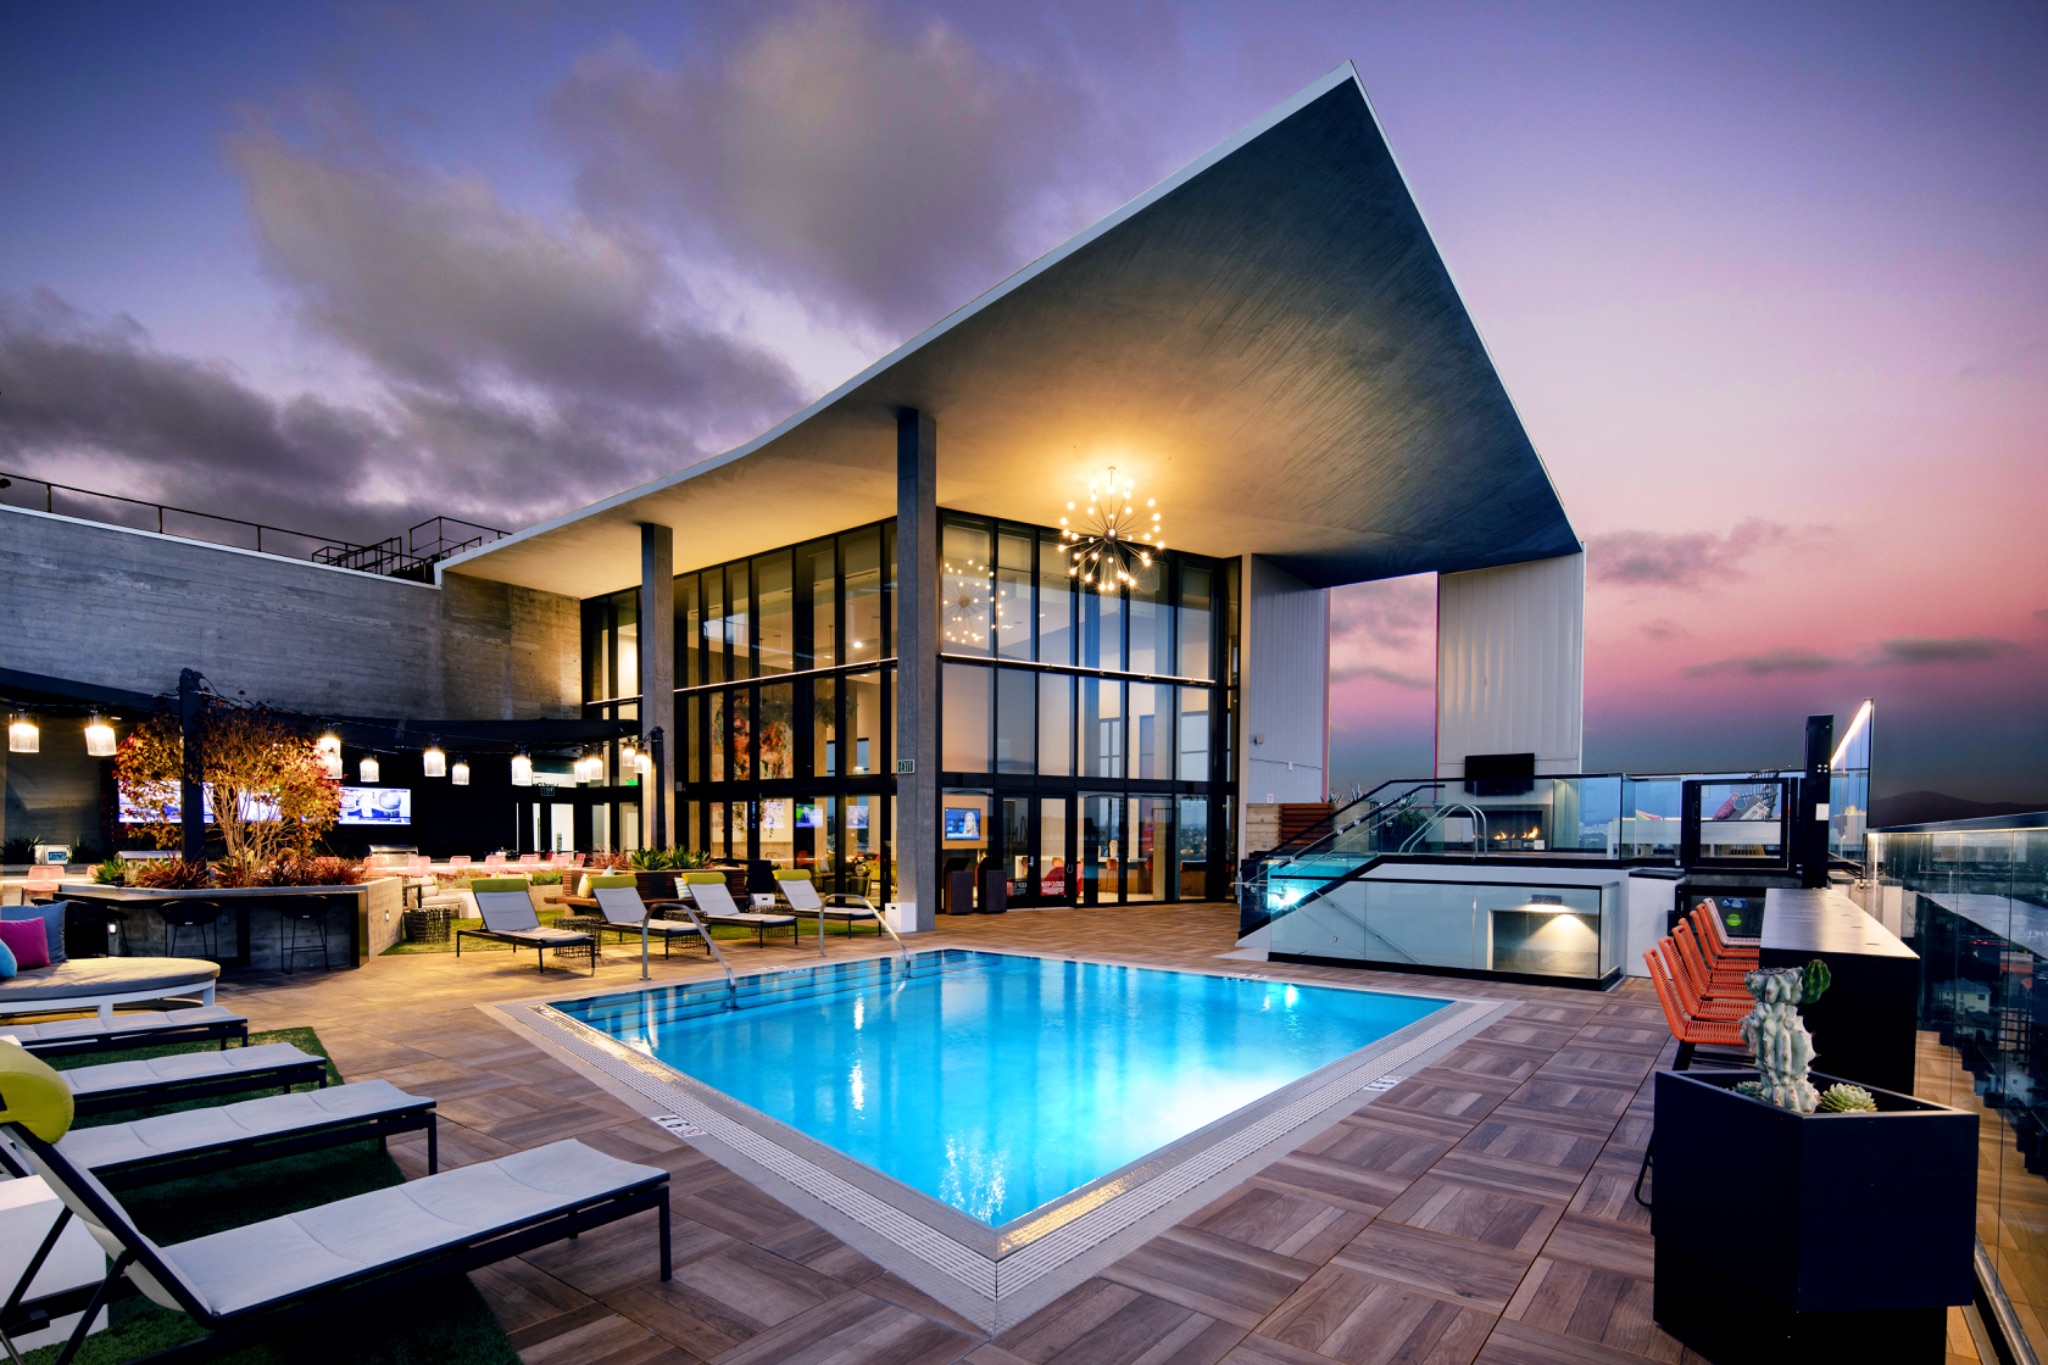
Outdoor kitchens, pergolas, and landscape lighting round out the space. The best builds blend several of these elements into one seamless layout, something you can see in swimming pool award showcases where design, materials, and features come together as a cohesive retreat.
Our equipment and utilities phase brings your pool to life. Underground water, gas, and electric lines are positioned, and pumps, filters, heaters, sanitation systems, and automation controllers are all sized, installed to code, and integrated into one system that’s simple to operate.
Variable-speed pumps are now standard for new builds in California, and for good reason. The U.S. Department of Energy notes that downsizing your pump and optimizing run time can cut pumping costs by up to 75%.
Automation systems take it a step further. You can control temperature, lighting, water features, and sanitation from your phone while catching equipment issues early through alerts and usage data.
The cost to build a swimming pool depends on pool type, size, materials, site conditions, and features. According to Angi’s 2026 data, the average inground pool runs about $65,000, with most homeowners paying between $45,000 and $87,000.
Building in California typically runs 15 to 25 percent above the national average due to permitting, labor, and soil conditions. Understanding the full range of inground swimming pool construction costs helps you budget realistically before breaking ground.
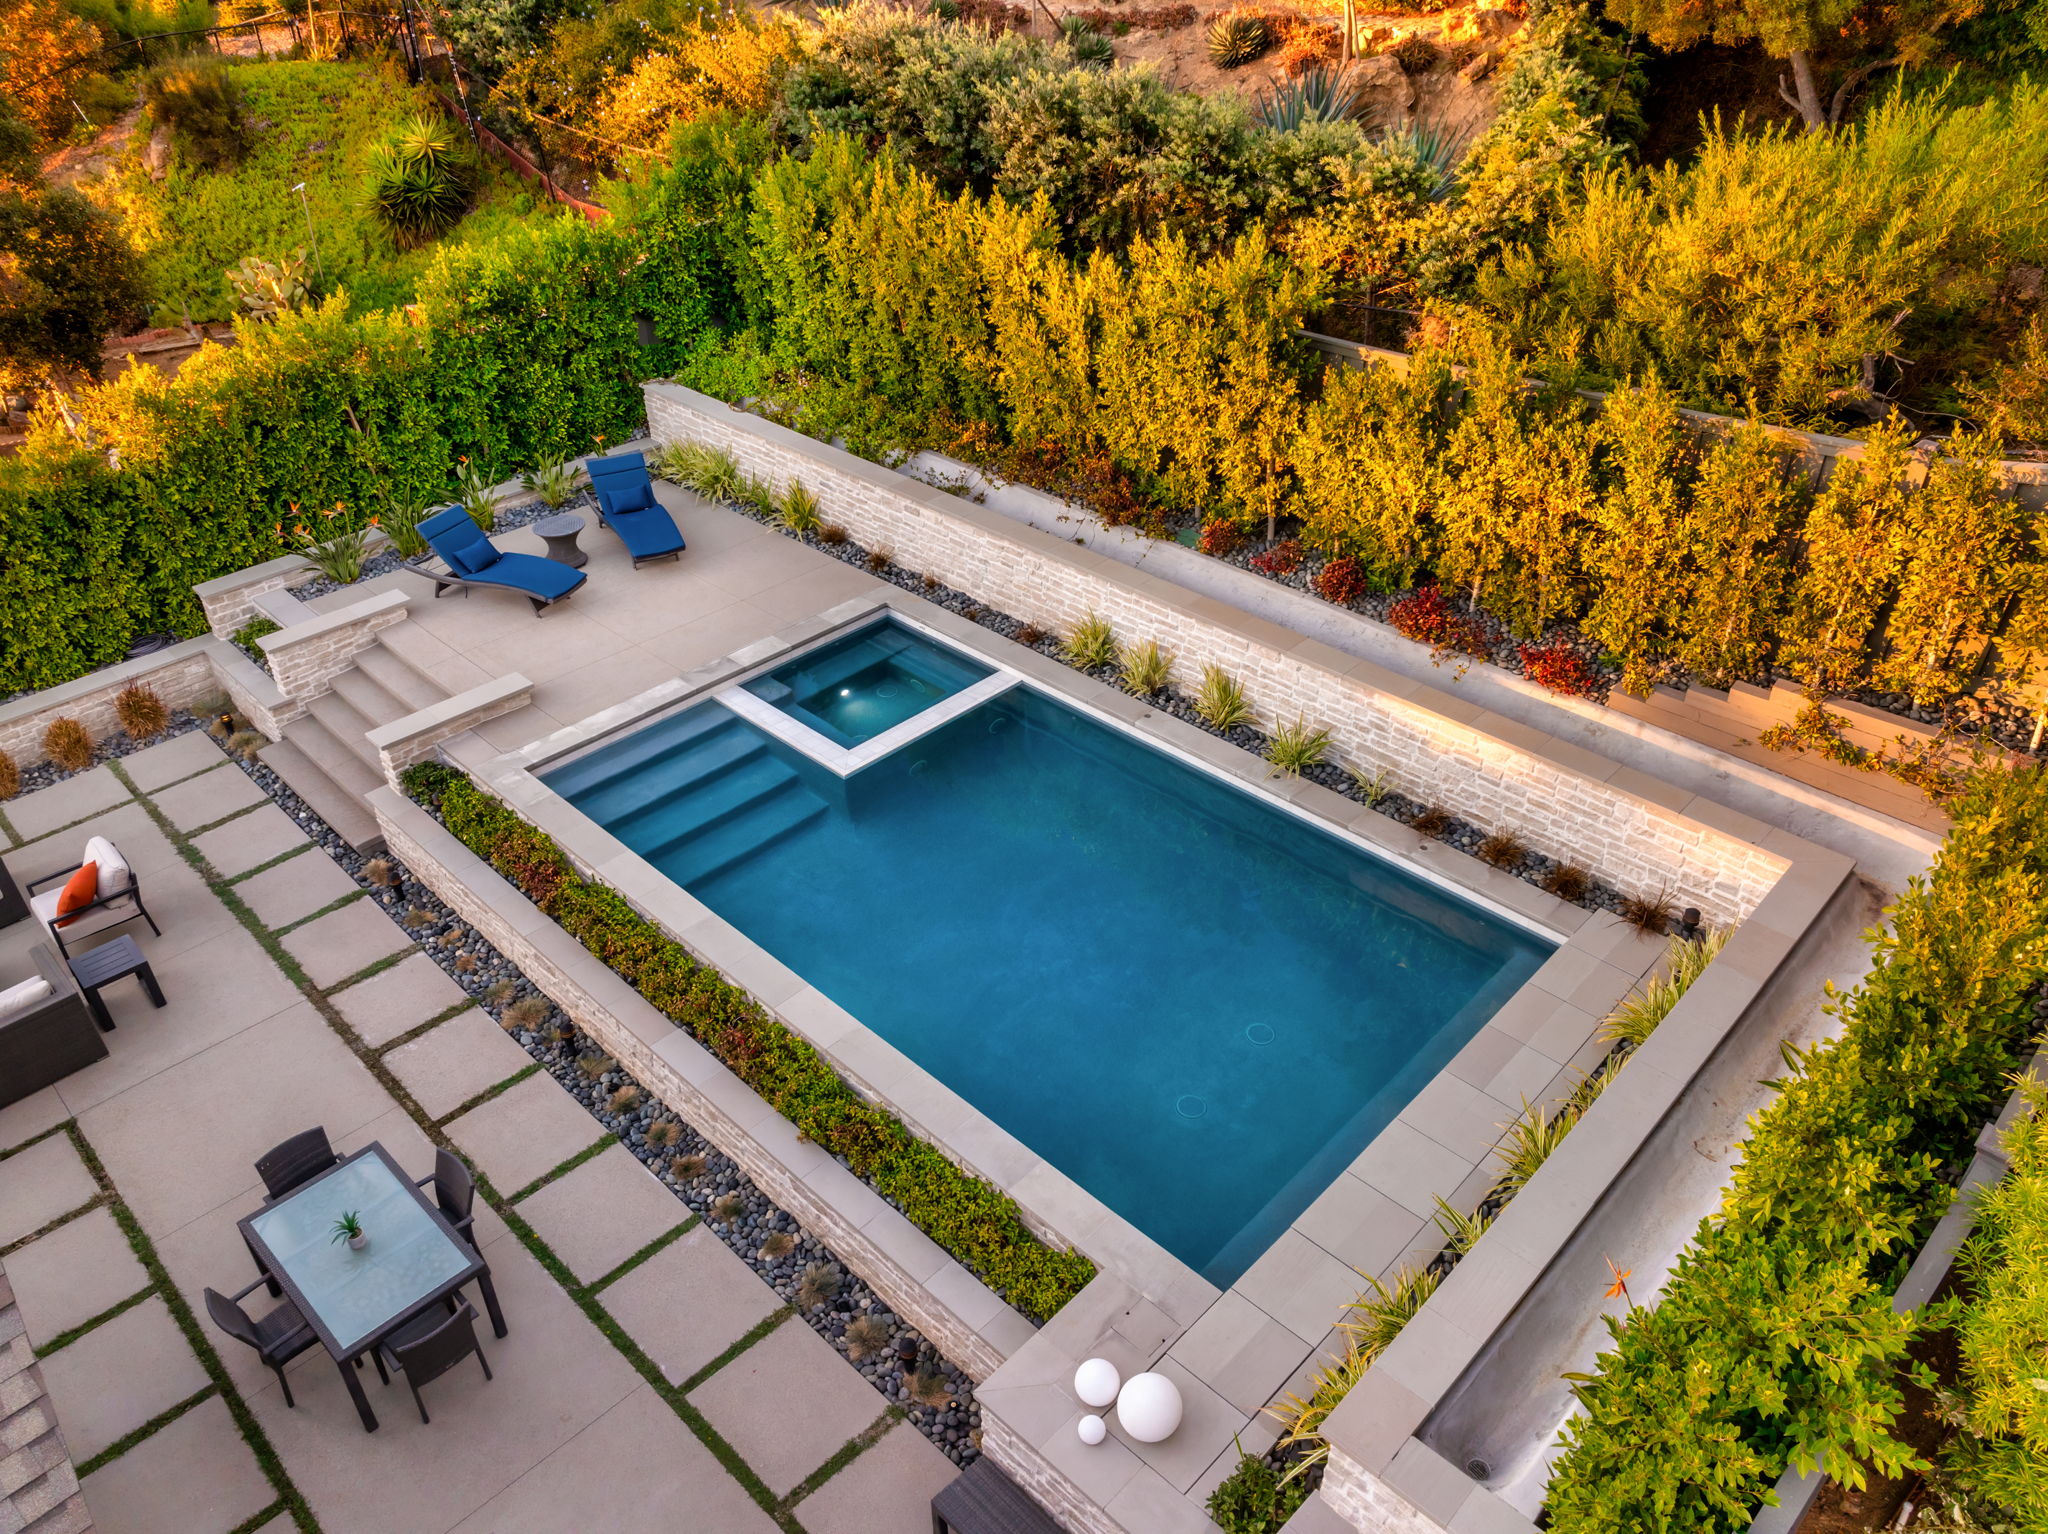
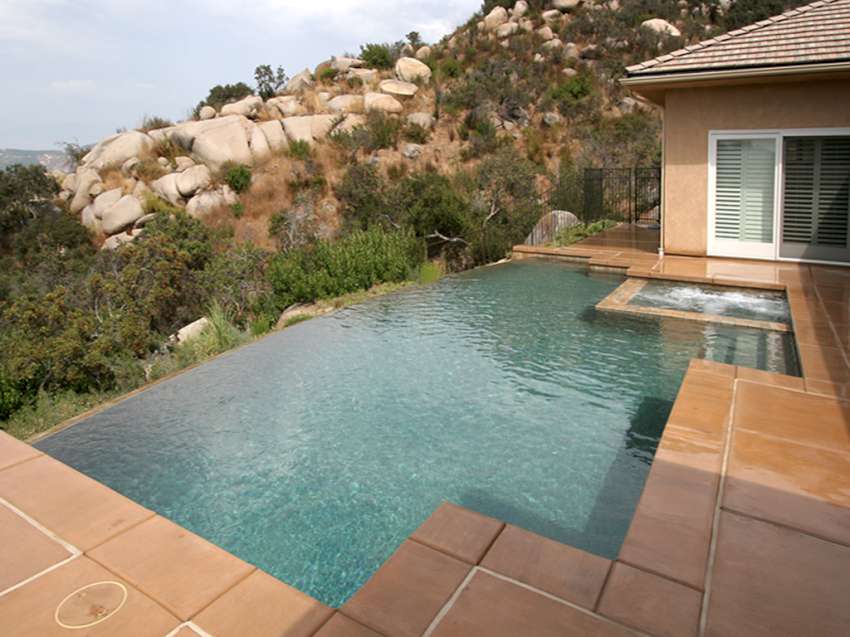
Concrete gives you the most control over shape, depth, size, and features. Every curve, bench, tanning ledge, and vanishing edge is built to your exact specifications.
Durability is the other major advantage. A properly executed concrete swimming pool construction project produces a shell that can last 50 years or more. It handles complex designs, supports heavy water features, and adapts to virtually any yard condition.
That’s why most luxury custom pools in Southern California are concrete, and why understanding the benefits of concrete pool construction matters when weighing your options.
Fiberglass pools take a different approach. A single pre-manufactured shell is lowered into the excavated hole and backfilled, so installation moves fast.
The smooth gelcoat surface also resists algae and requires fewer chemicals than most finishes.
The trade-off is customization. You’re limited to the shapes and sizes the manufacturer produces. If your yard has unusual dimensions or you want integrated features like a raised spa or beach entry, fiberglass may not accommodate your vision.
Vinyl liner pools use a flexible sheet stretched over a steel or polymer frame. They’re generally the lowest cost option for an inground pool, and they feel smooth underfoot.
The catch is durability. Liners are vulnerable to punctures, fading, and seam failures.
Replacement typically runs $4,000 to $7,000 every 7 to 12 years, so the long-term expense can approach concrete pool territory without the structural longevity to match.
Pool construction touches structural engineering, plumbing, electrical, grading, and code compliance all at once.
One misstep in any of those areas can cascade into expensive repairs or failed inspections.
Licensed builders carry the insurance, warranties, and trade licenses that protect you if something goes wrong. They coordinate subcontractors, manage inspections, and solve field problems without passing them to you.
Equally important, experienced builders understand local conditions. In Southern California, that means reactive soils, high-heat curing, and permitting nuances that shift between jurisdictions. That’s why choosing your swimming pool builder partner carefully is one of the most consequential decisions in the entire project.
Luxury comes down to precision. The right materials, tight engineering tolerances, and a design that makes you forget you’re looking at a construction project.
The best companies combine in-house design, structural engineering, and field construction under one roof. That integration means fewer miscommunications, faster decisions, and a finished product that matches the original rendering.
At Mission Pools, over six decades of building across Southern California shows in every detail. You can see that craftsmanship firsthand through our new construction portfolio.
Every step in the swimming pool building process matters, from the soil test to the final startup.
Each decision builds on the one before it. When you invest in proper design, licensed construction, and materials that match your goals, the pool becomes a lasting part of your home rather than a maintenance headache.
At Mission Pools, we’ve spent over 60 years helping Southern California homeowners get this right. Reach out to our team and we’ll walk through your backyard, your vision, and the steps to make it happen.
A concrete pool typically takes three to six months from excavation to startup. Fiberglass installs move faster, often three to six weeks. Permitting, weather, and custom features all influence the swimming pool construction process timeline.
Concrete swimming pool construction remains the top choice for custom builds because it offers complete design flexibility and lasts 50 years or more. Fiberglass suits homeowners who want faster installation with lower maintenance, while vinyl liners work for tighter budgets.
Yes. California requires building permits for all inground pool construction. Separate permits may apply for electrical, plumbing, and fencing. Your pool builder typically manages the full permit and inspection process.
The cost to build a swimming pool in Southern California typically falls between $50,000 and $120,000 depending on materials, size, and features. Luxury custom concrete builds with full outdoor living packages can exceed $150,000.
Look for valid contractor licensing, proof of insurance, a portfolio of completed projects, and experience with local soil and permit conditions. A qualified builder manages the entire swimming pool building process from design through final inspection.
You know . . . you just do not wake up one day and decide you can be someone’s partner in business. Strong relationships take...
Southern California is known for a lifestyle second to none. Our area that started out as an arid desert has now become a land of...
Yesterday was an example of why my brother and I enjoy this business so much. Contracting is all about solving problems…problem/solution management.