Marrying your ideas with our passion
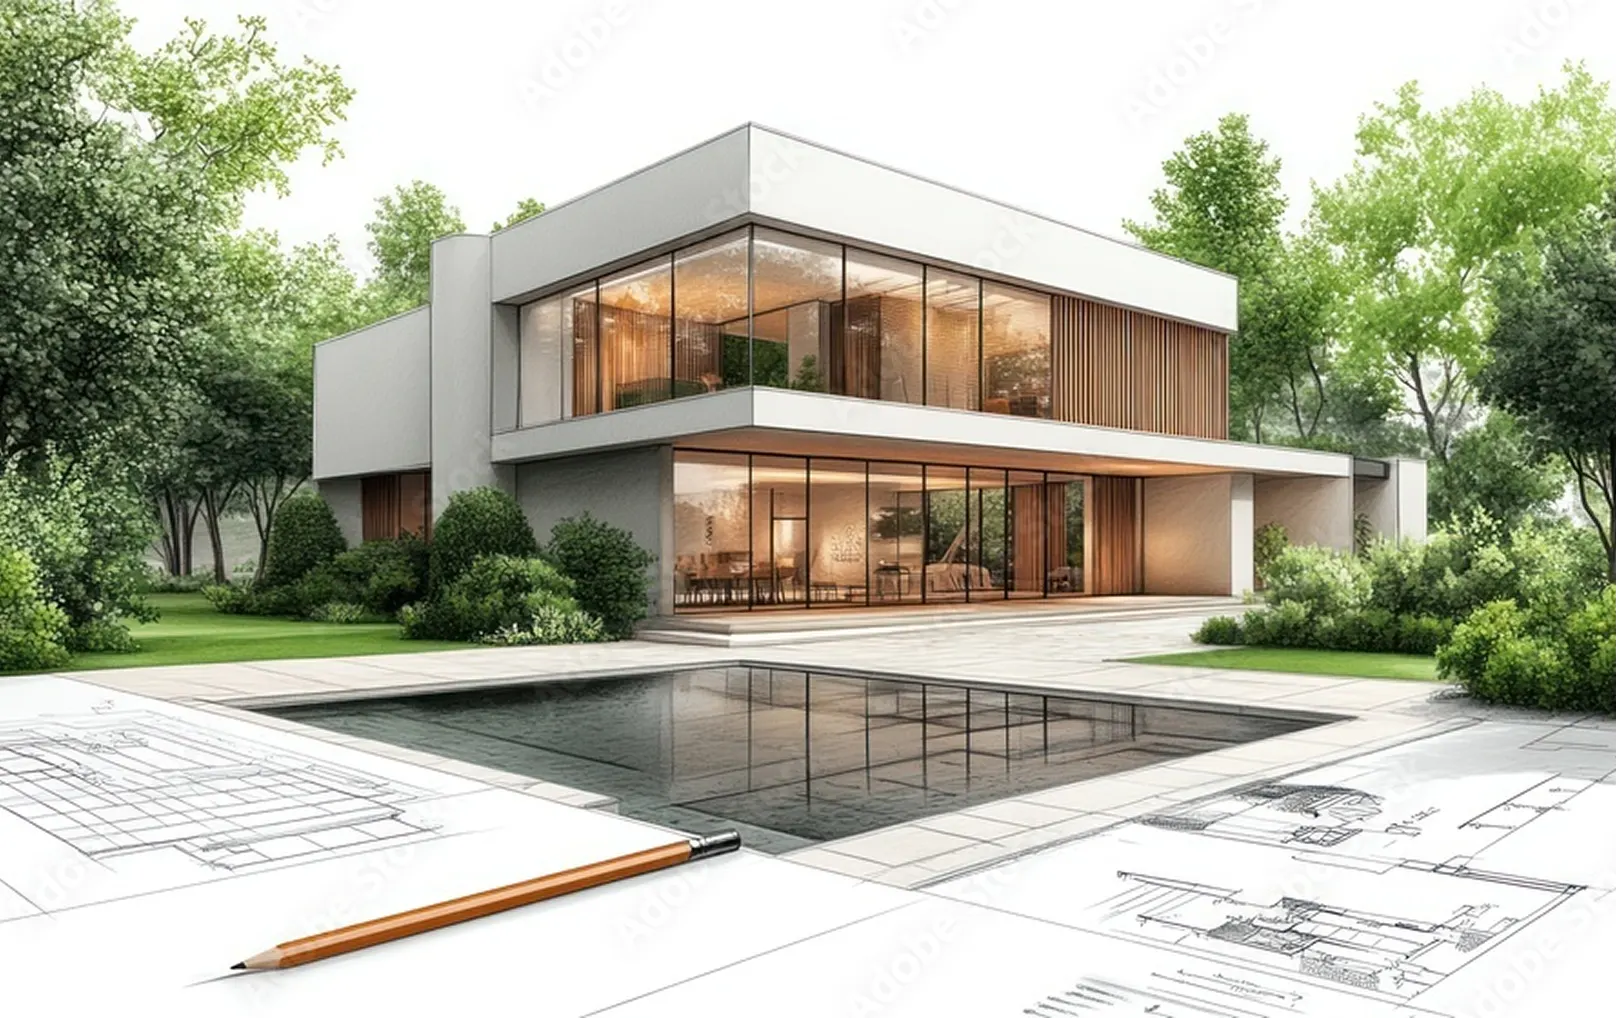
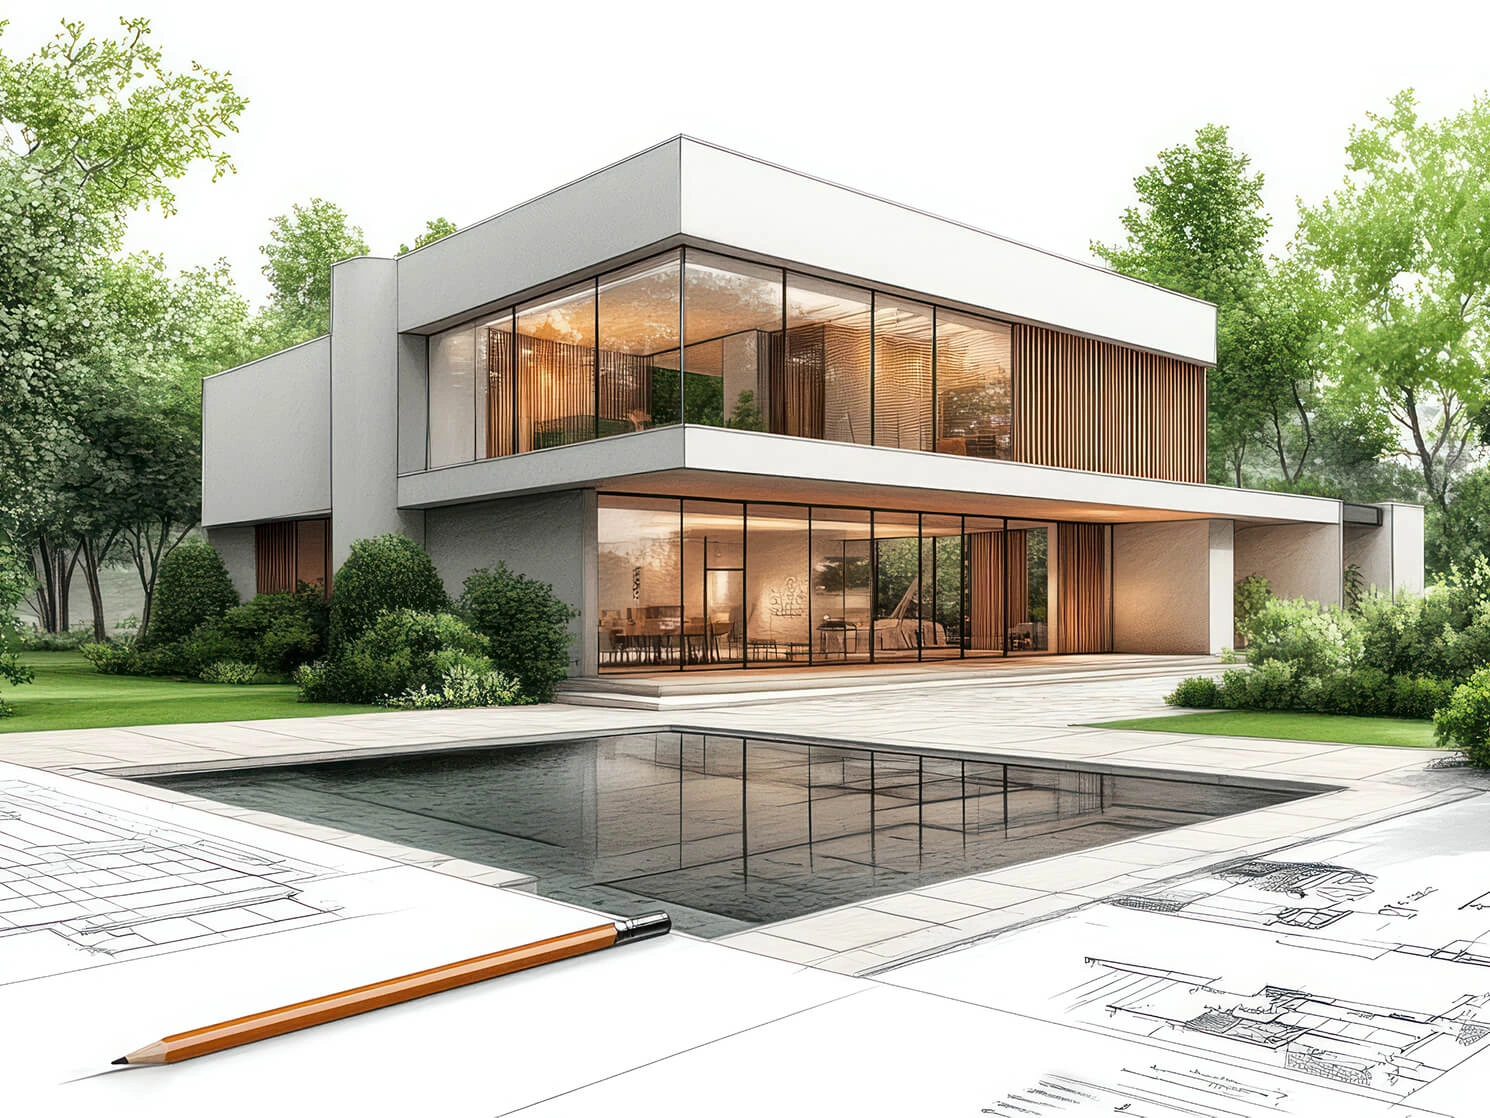
First, you will collaborate with our expert designers to create a custom pool tailored to your needs and preferences. We focus on pool size, shape, depth, and additional features like waterfalls, rock features, tanning ledges, fire bowls, masonry and decking to match your desired aesthetic and functionality.

Once your design is finalized, we create detailed drawingsand a 3D rendering to preview the pool in your yard. From there, precise blueprints guide our construction team to bring your vision to life.
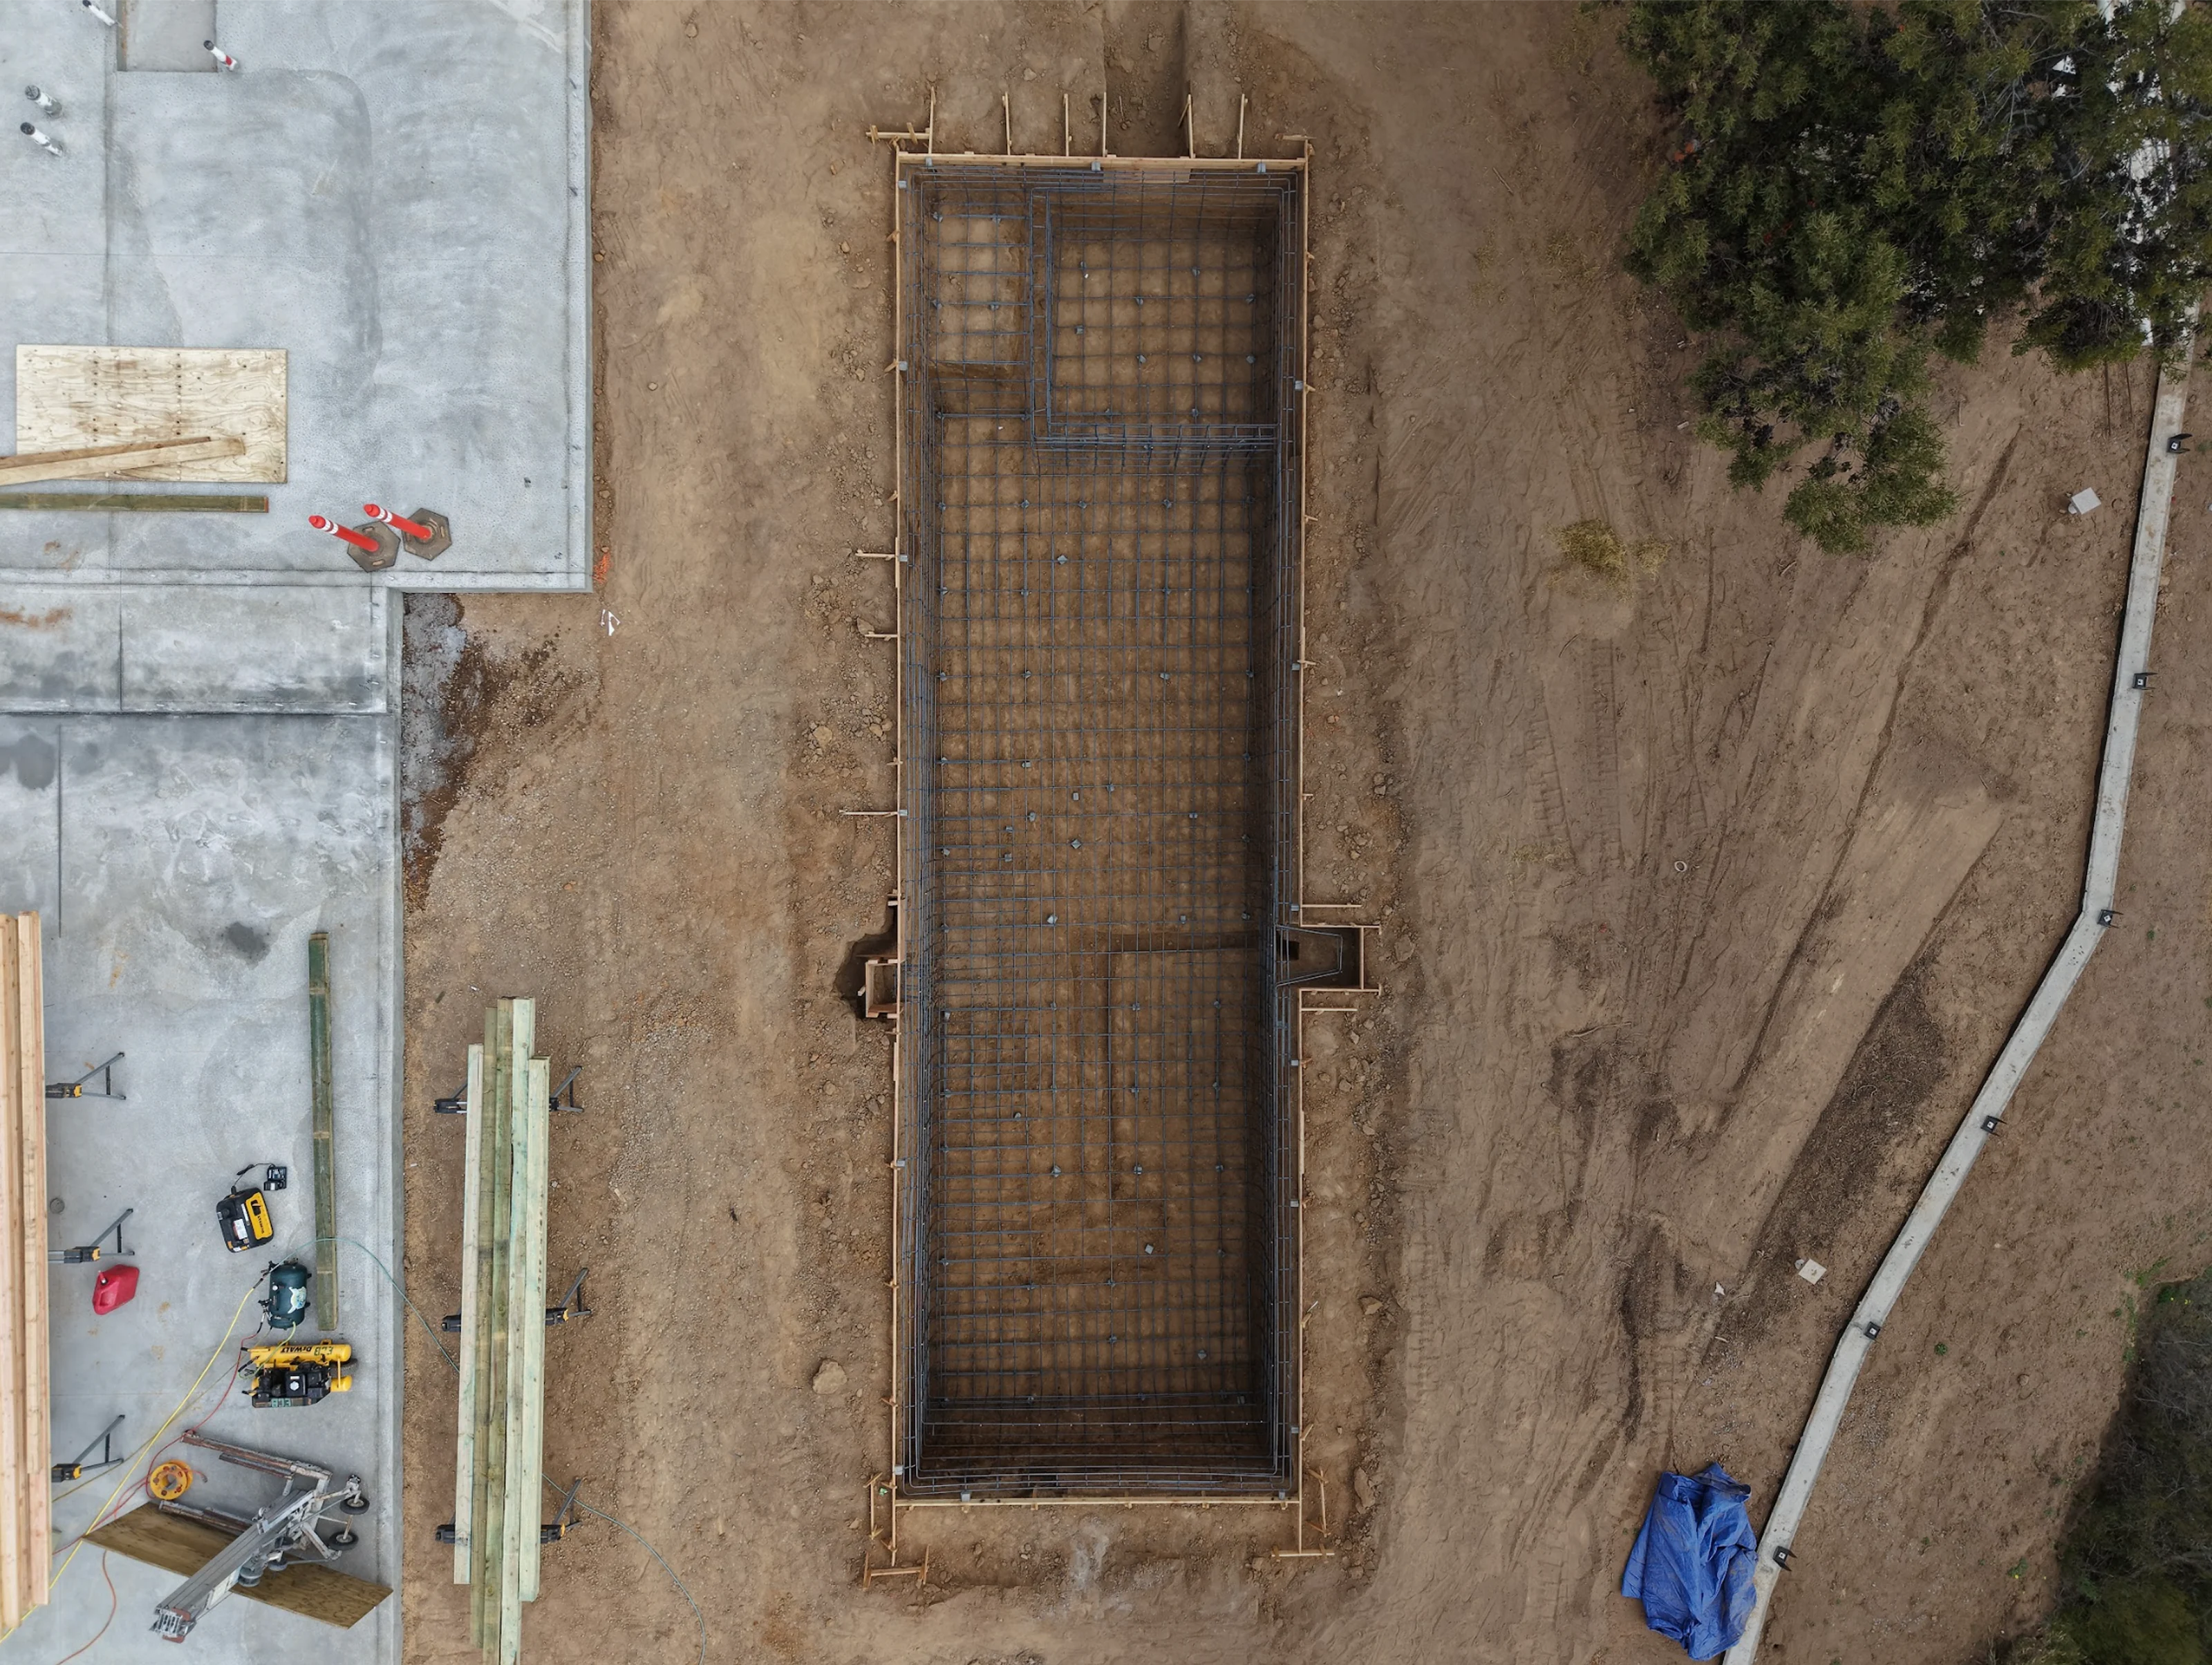
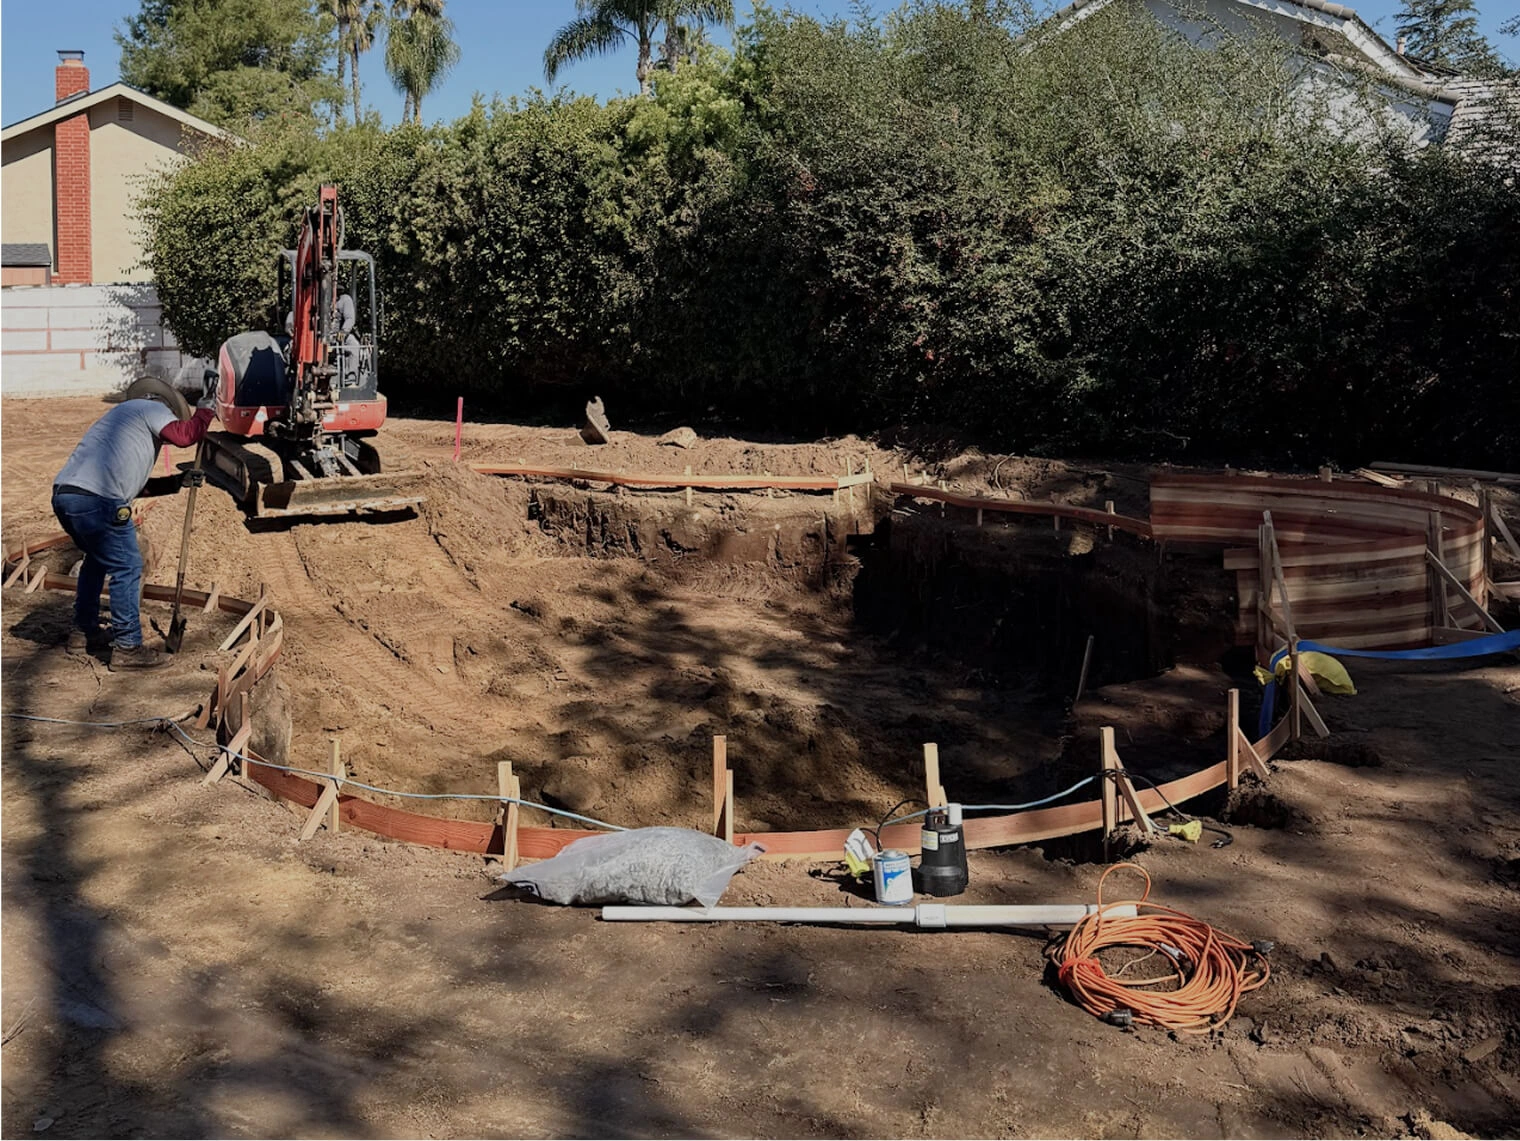
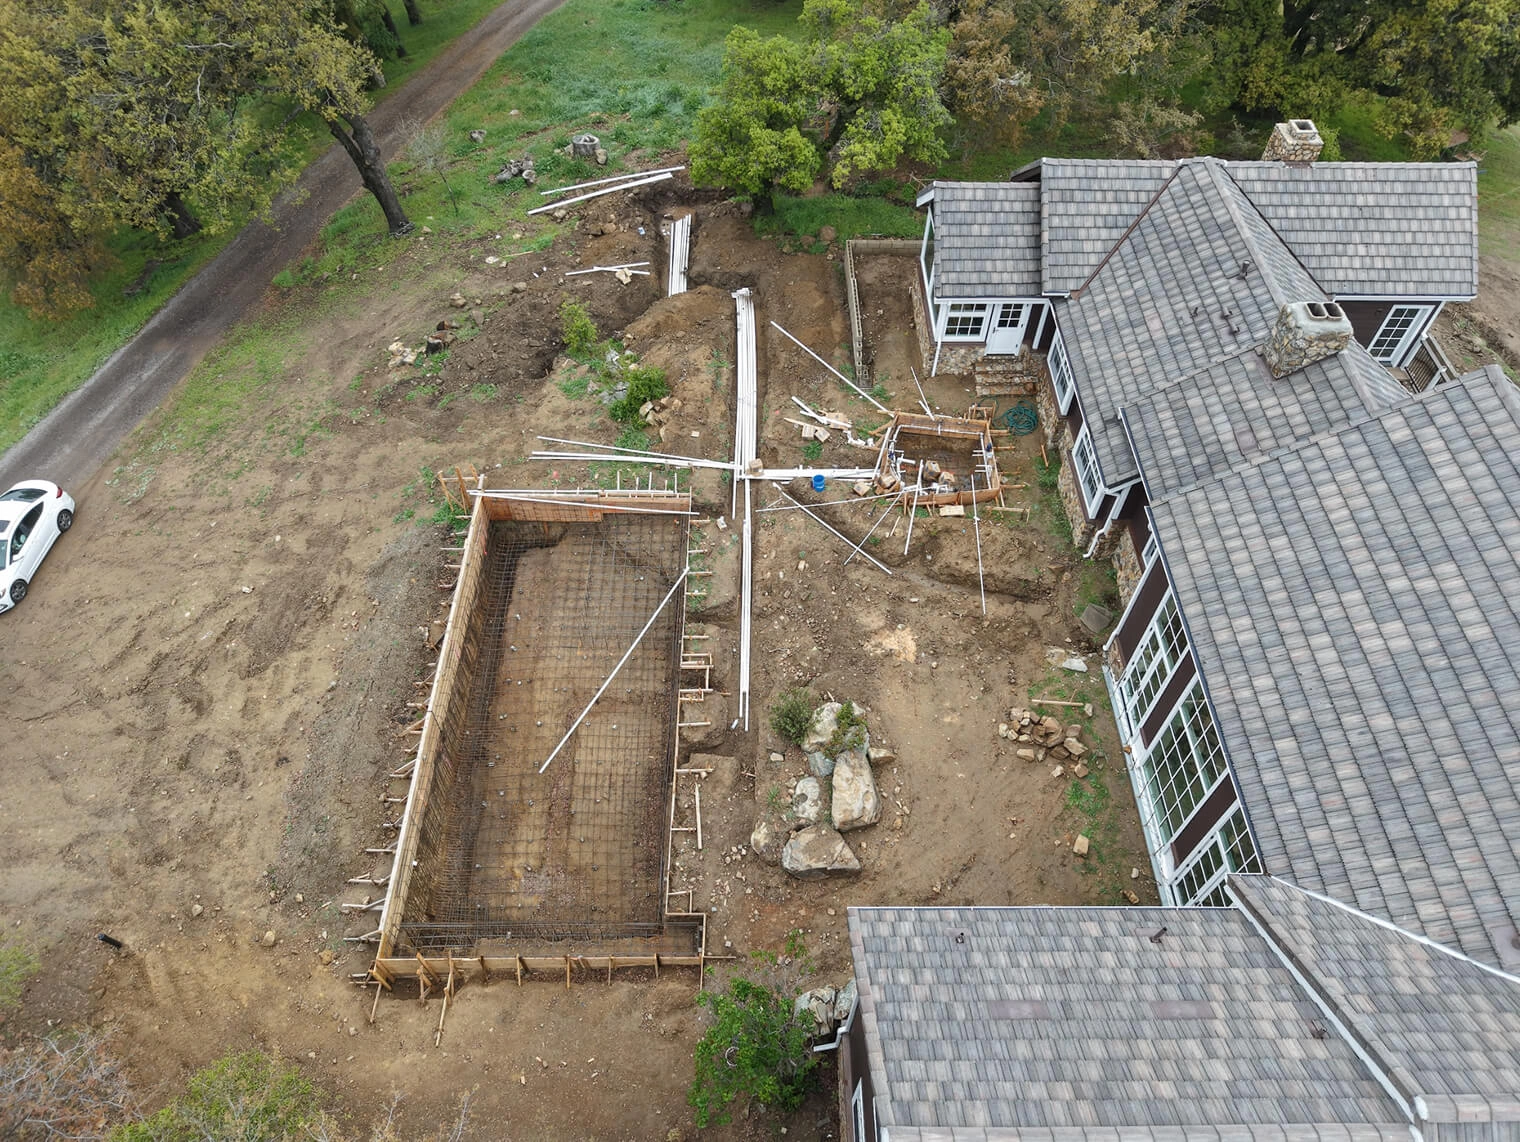
With permits and designs finalized, it is time to break ground! Excavation marks the beginning of the physical transformation of your yard into a luxurious pool area.
After excavation, we install the steel framework, which acts as the skeleton for your pool. At Mission Pools, we use high-quality steel that will ensure your structure remains durable for decades to come.
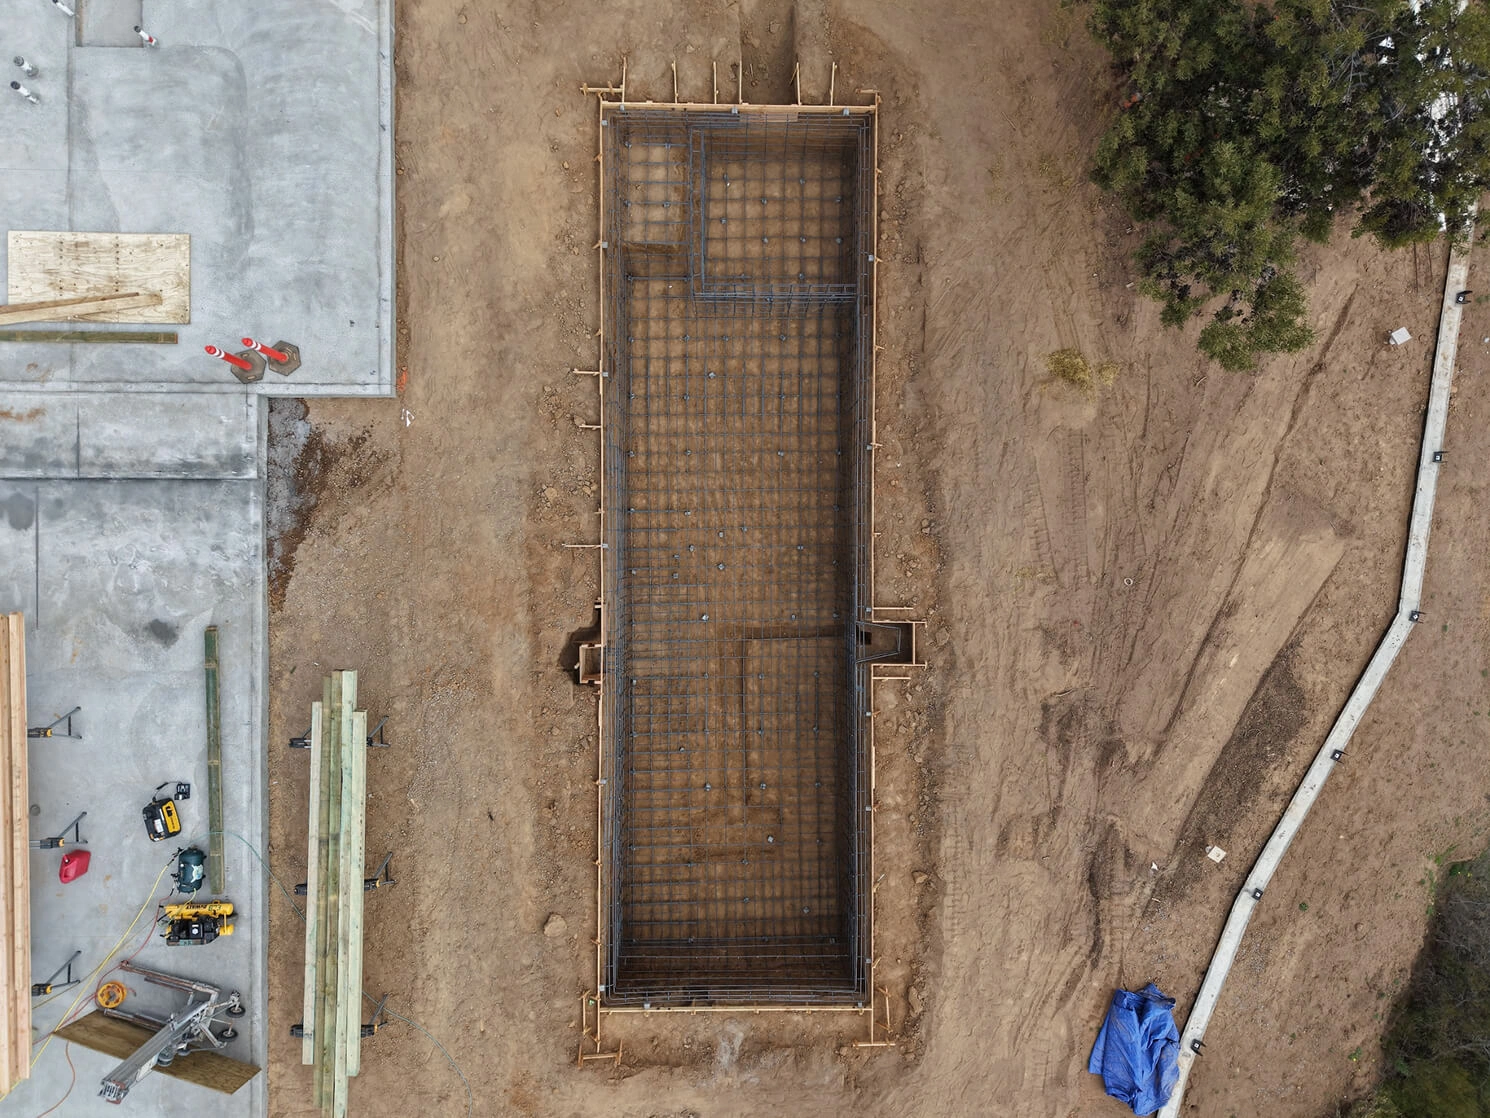
For this stage we install properly sized plumbing to maximize the efficiency of the equipment operation, which helps reduce long-term maintenance costs and energy consumption.
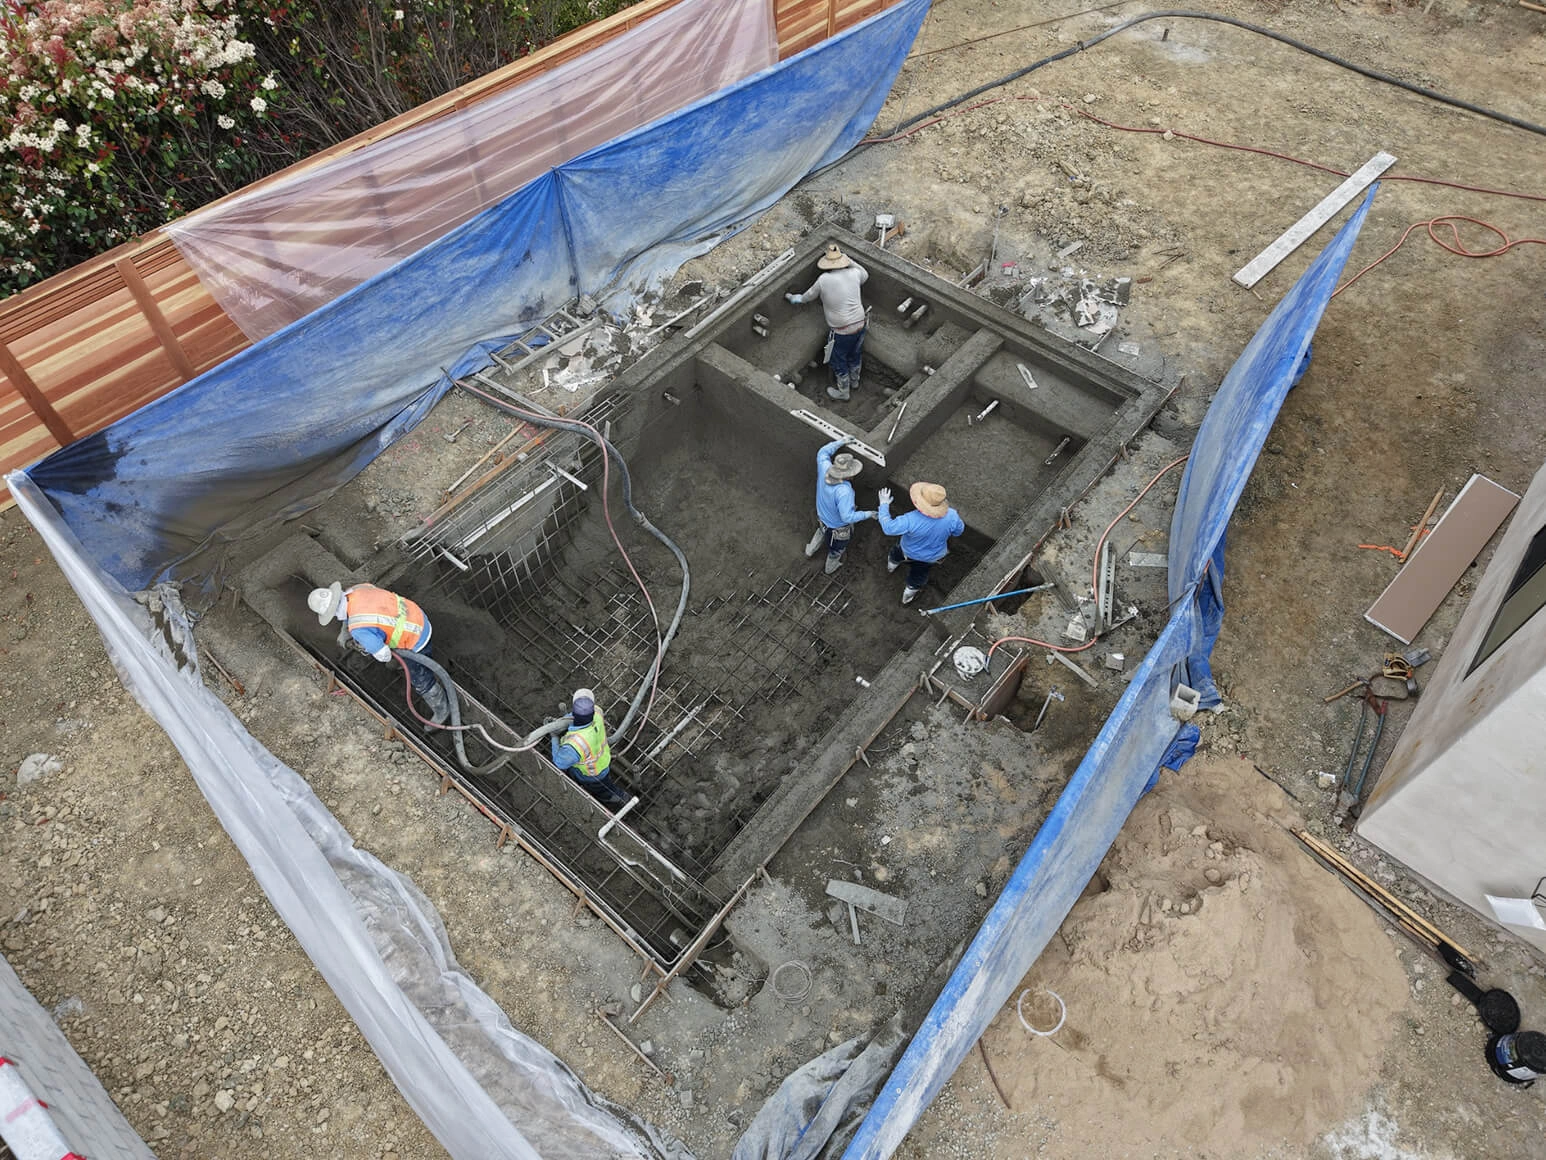
Shotcrete is a specialized form of concrete that is pneumatically applied. Our shotcrete formula produces a structure substantially stronger than the minimum strength required by the engineering plans for your pool. This is when the pool will take shape.
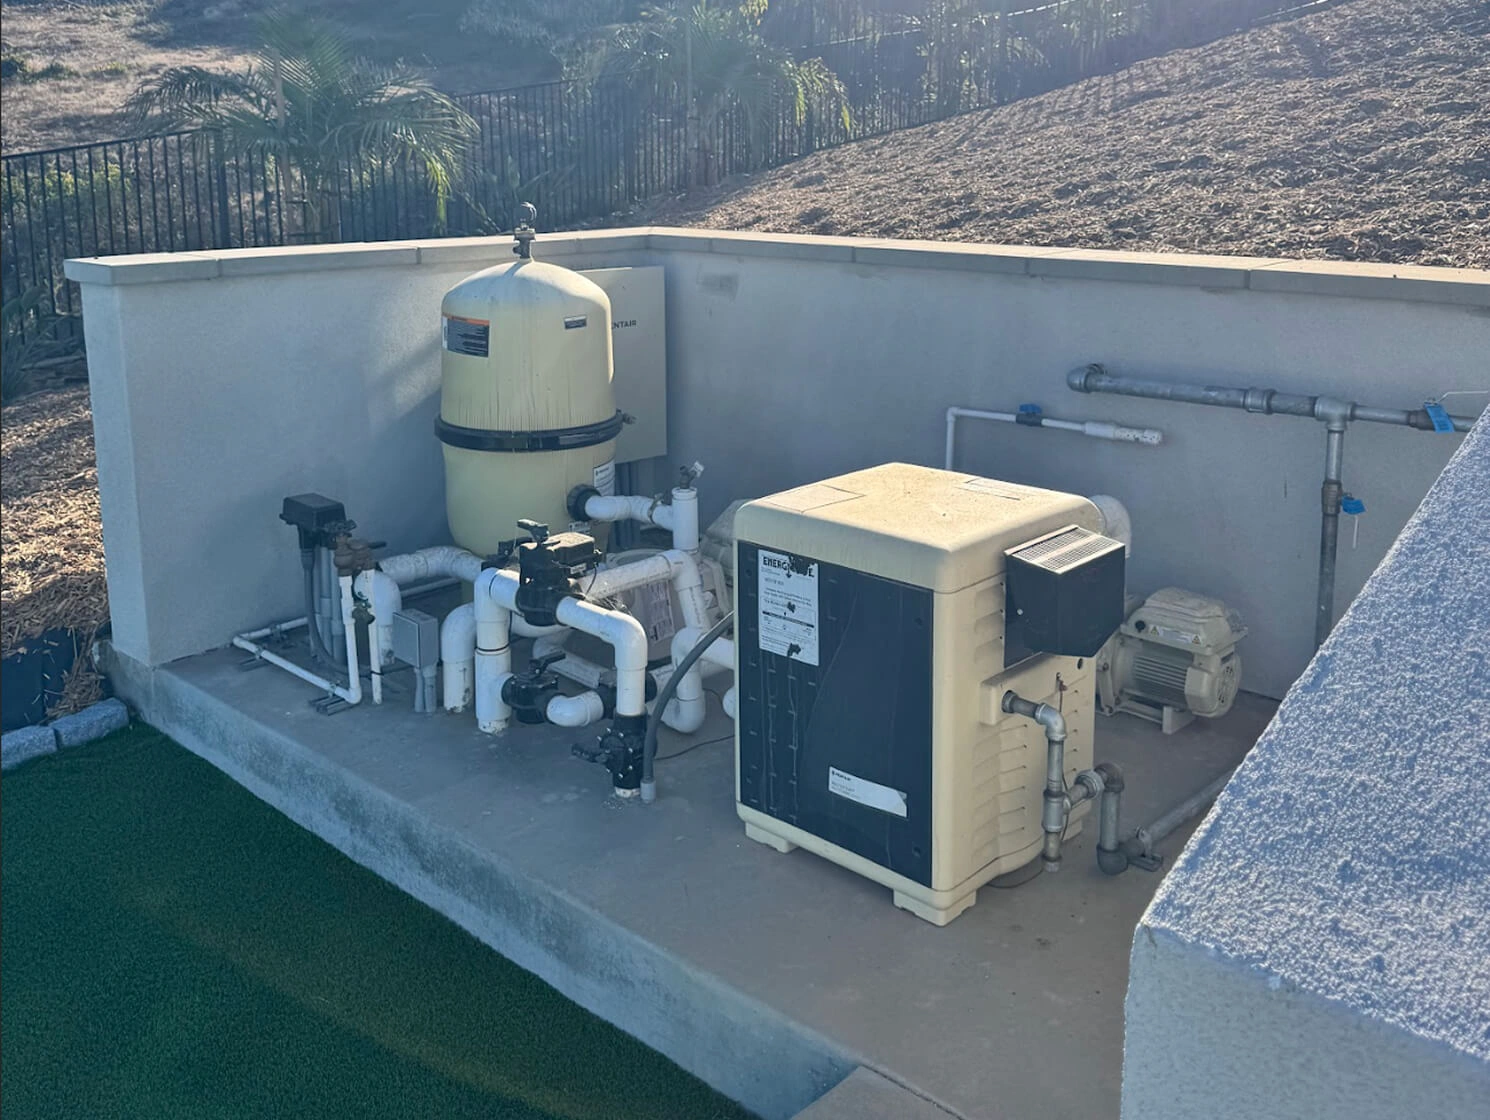
The underground utilities include water, gas, and electric that will be installed and inspected prior to setting the pool equipment. The equipment footprint will depend on the design of your pool and can include pumps, filters, heaters, sanitation equipment, and controls.
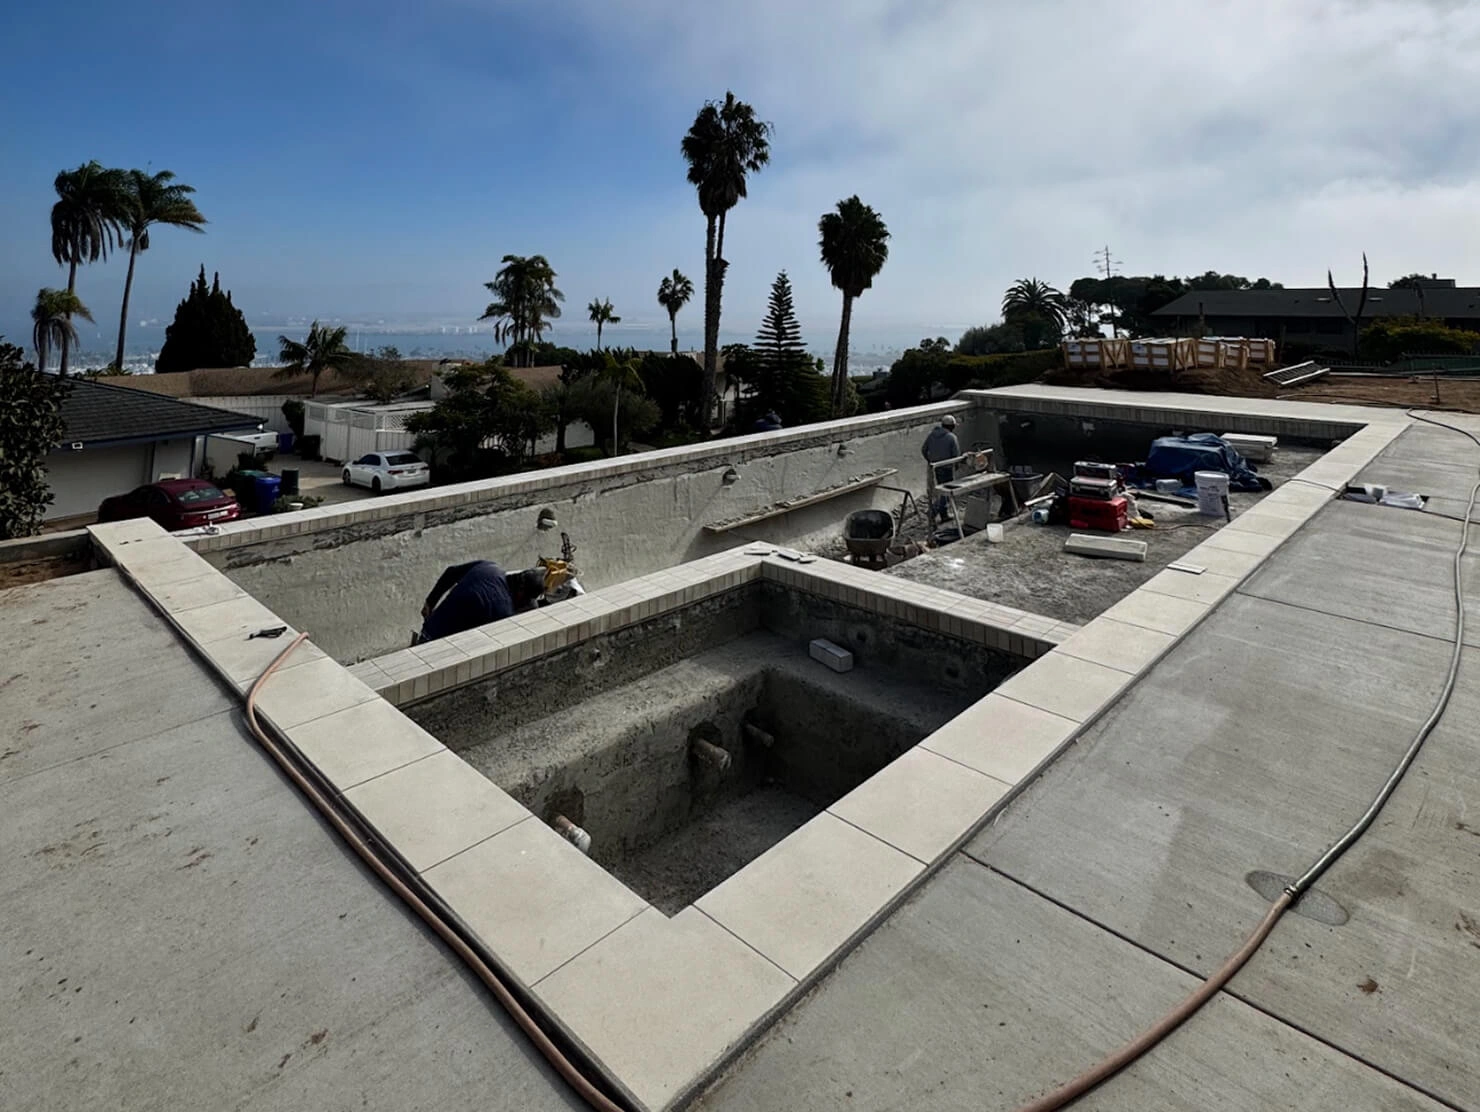
The coping is applied to the pool’s perimeter along with waterline tile, giving the pool a polished look. This is also the phase where the finishes are applied to grottos, waterfalls, or fire features that enhance the pool’s design. Masonry and decking will be installed after coping.
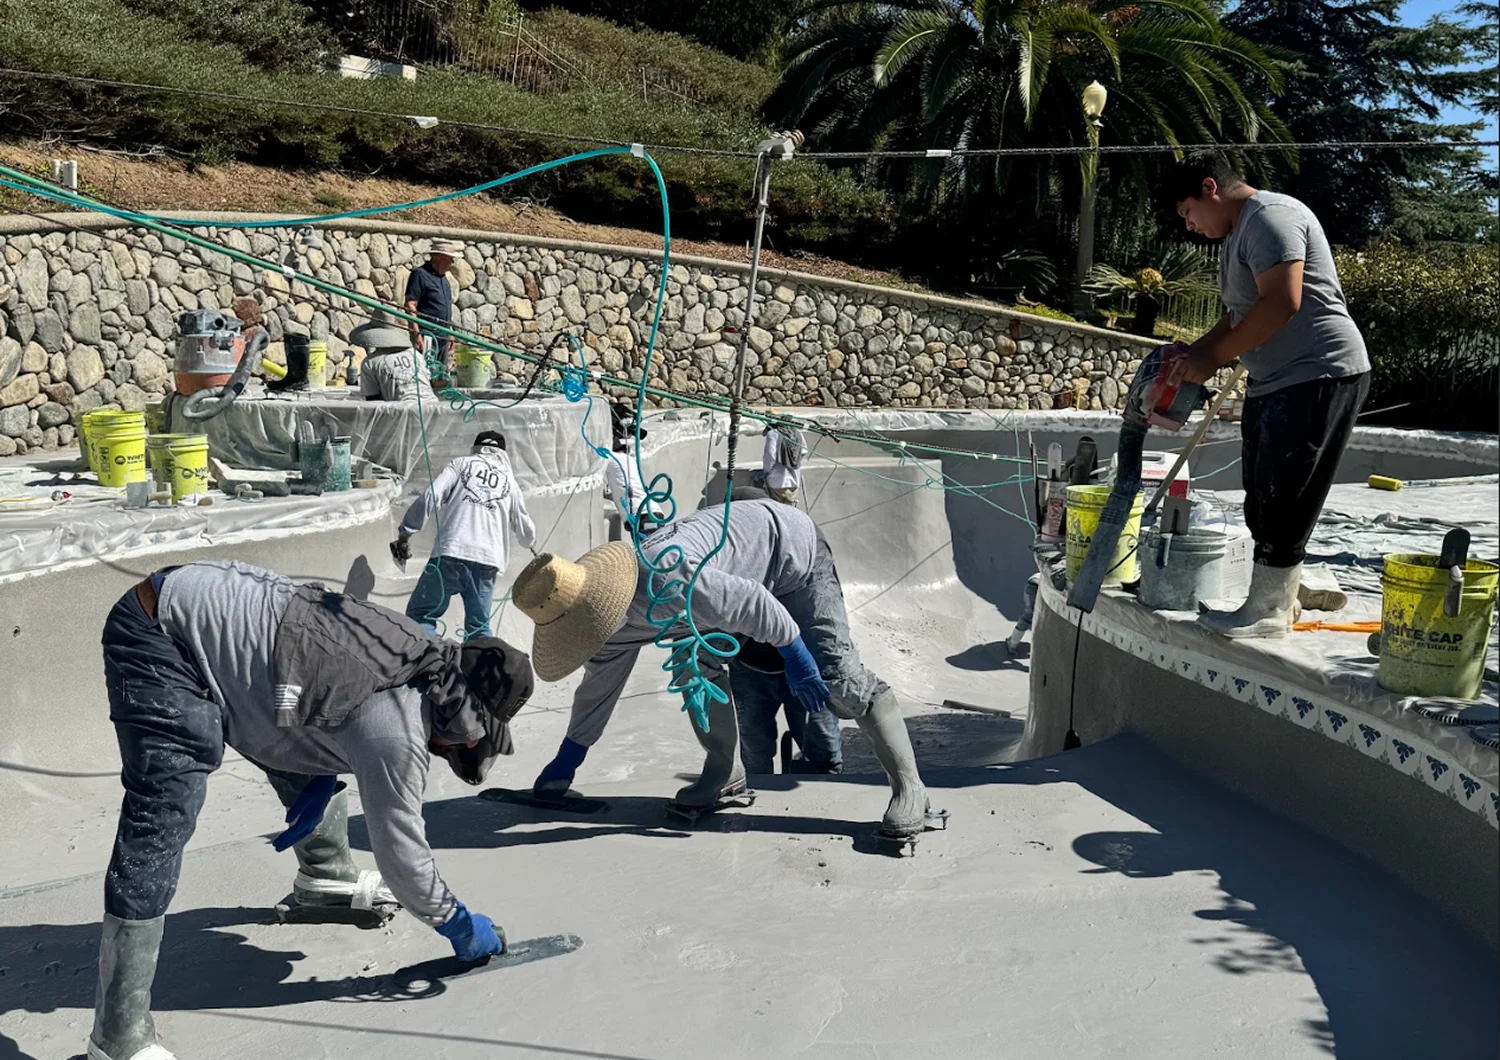
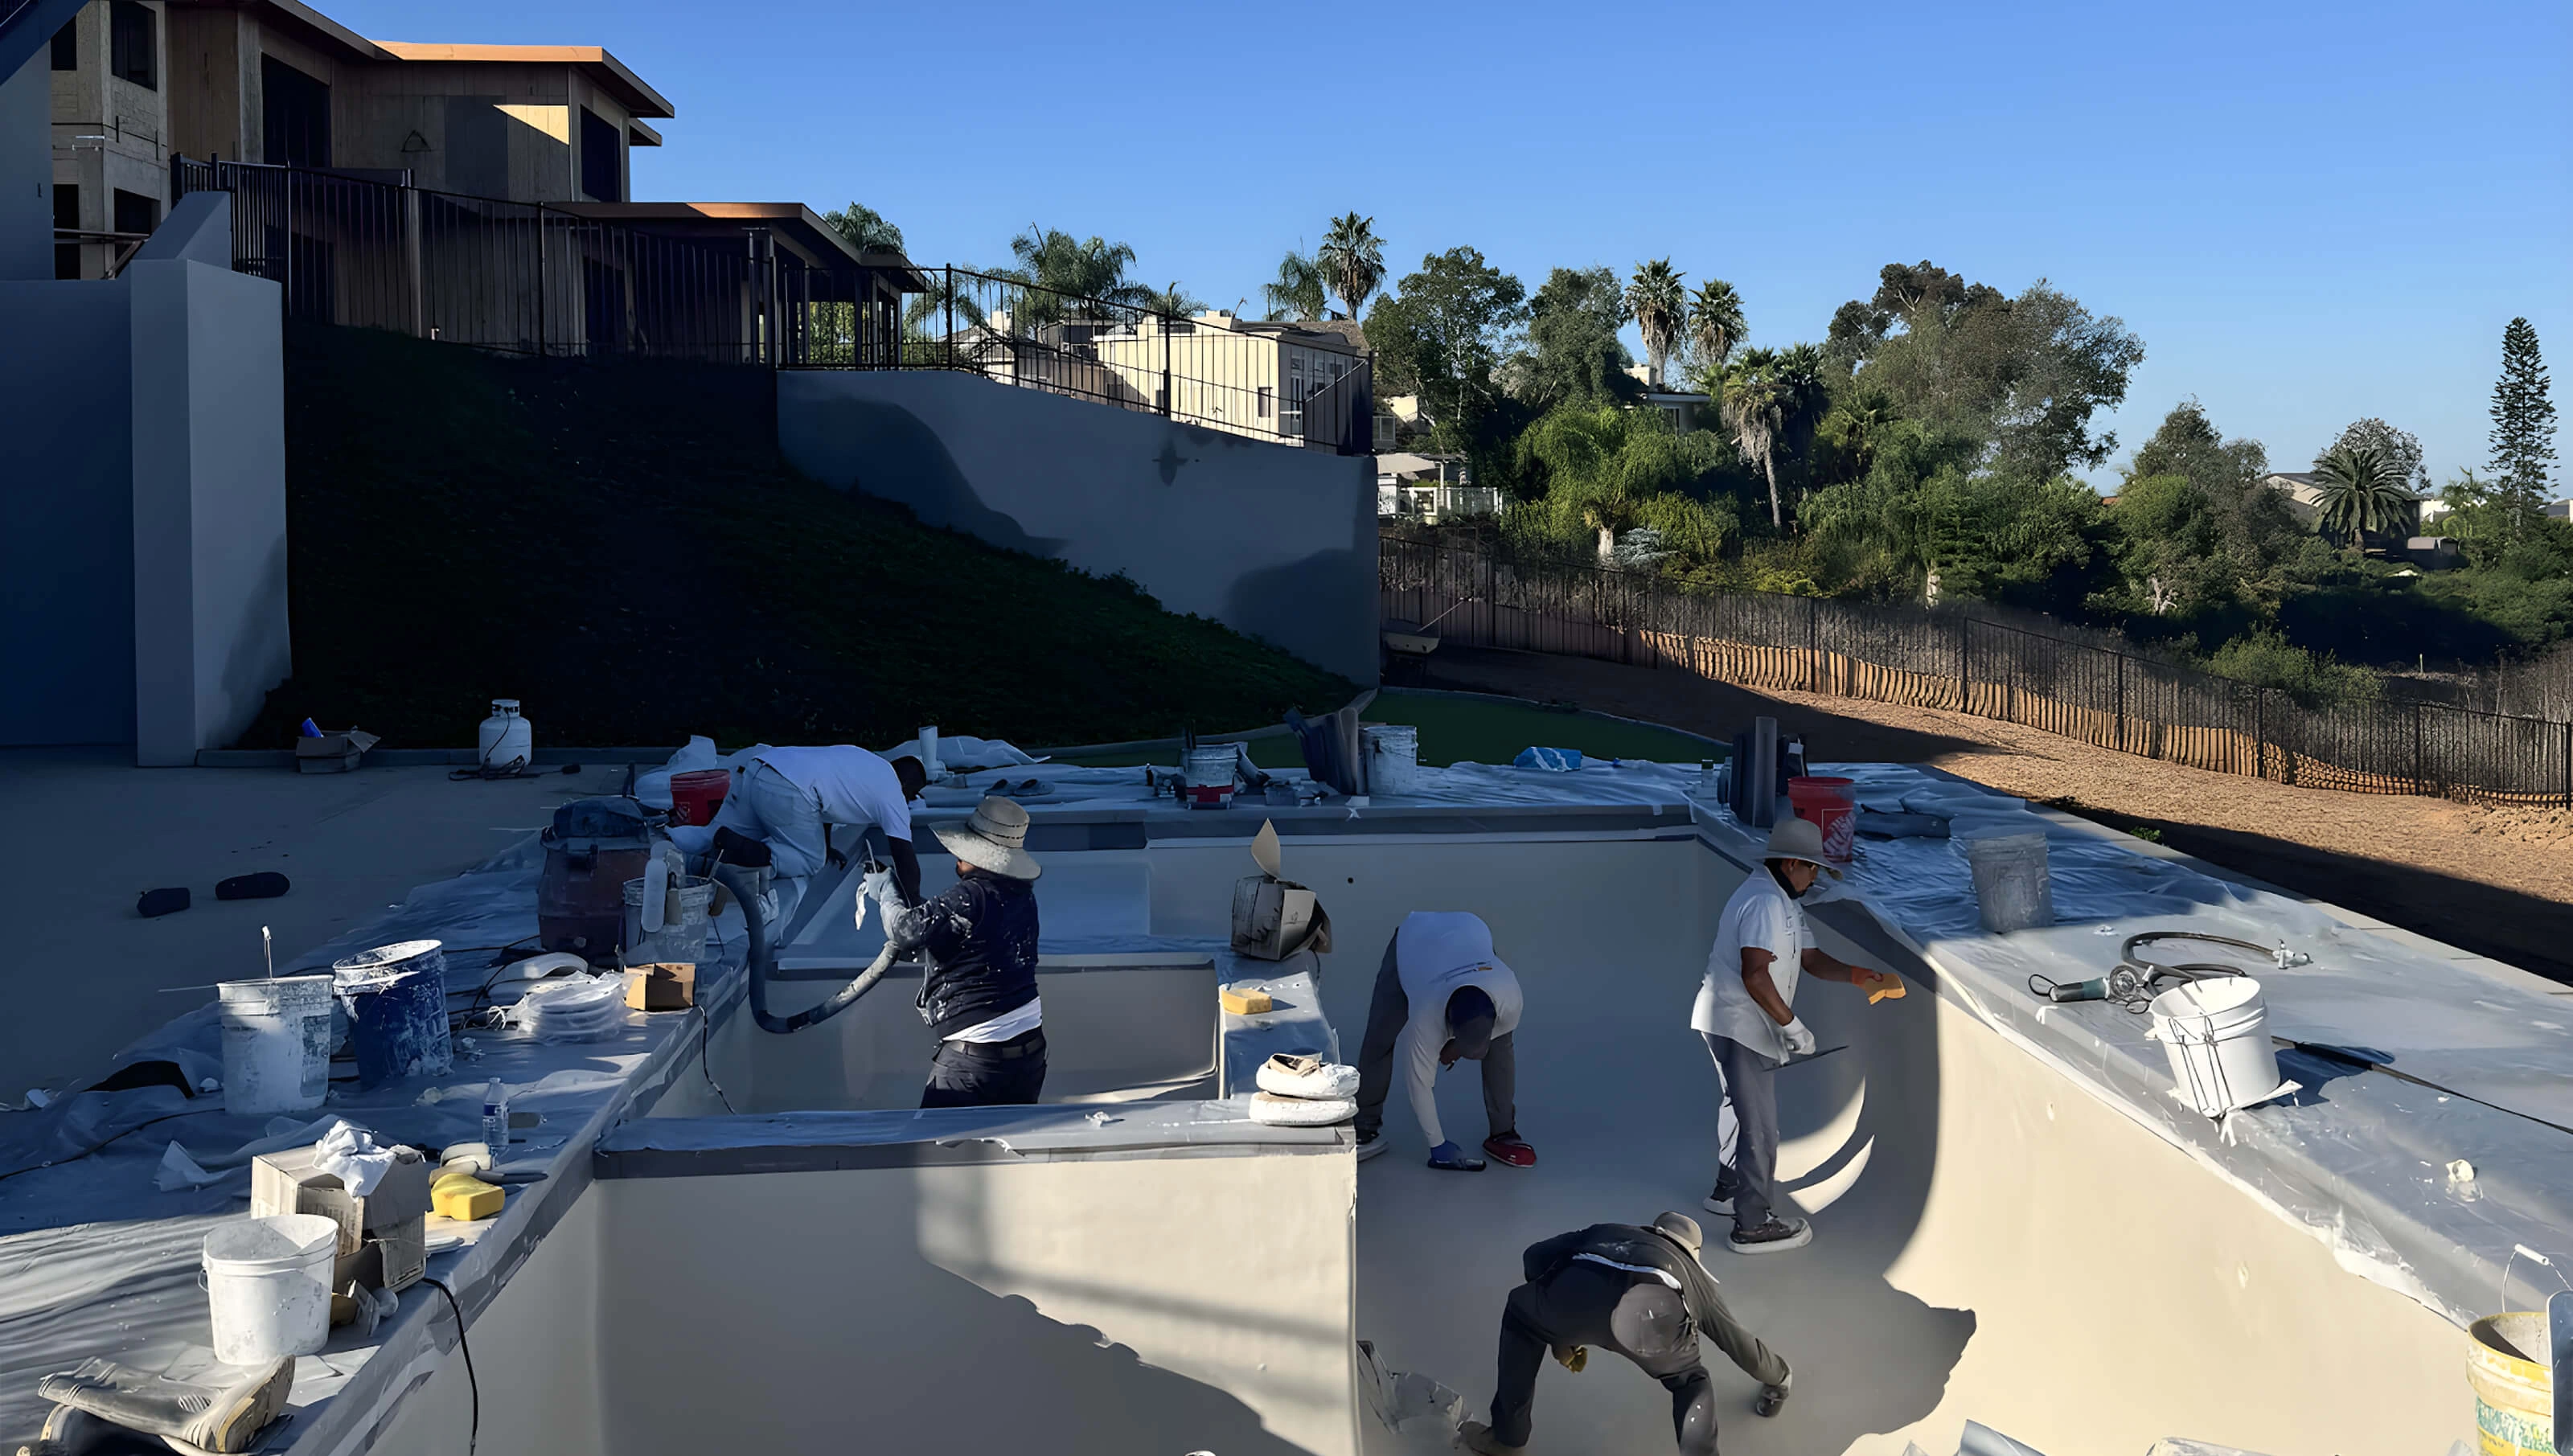
Plaster is applied to the pool’s interior, creating a smooth, durable finish. This is when you will see the color of your pool come to life with whatever color plaster was selected. The plaster color will determine the color and hue of your water, so be sure to discuss this in the design phase with our experts!

Finally, the moment you’ve been waiting for—your pool is ready for enjoyment! Before we wrap up, we will ensure everything is functioning perfectly, clean, and answer any final questions you may have. Our service team remains on standby for any future maintenance or support needs.
Servicing Southern California for over 60 years, we’re proud to operate three branches ready to serve you. With decades of experience caring for customers and their pools, our team is here to help. Get in touch with us today—we’d love to hear from you.