Your backyard is about to become a construction zone for weeks, and the choices you make before the first shovel hits dirt will decide whether that ends in a dream oasis or a budget nightmare.
A swimming pool installation rewards homeowners who plan, and punishes those who wing it.
Understanding the full pool installation process upfront protects your budget, your timeline, and your sanity. At Mission Pools, we’ve guided Southern California families through custom builds since 1960, so we know exactly where projects drift, and how to keep yours anchored.
Before you commit to a swimming pool installation, take an honest look at what your lot can actually support. Yard size, soil type, drainage, HOA rules, and zoning all shape whether a pool is realistic for your property.
That’s why the smartest first move is a professional site evaluation, where your builder measures the lot, confirms setbacks, and flags the utility easements that ultimately dictate where your pool can sit.
Soil matters just as much. In fact, according to engineering guidance from Aquatics International, expansive clay can shift volume by up to 30% with moisture changes. A geotechnical report often saves you far more than it costs.
Then there’s the lot itself. Steep slopes, shallow bedrock, or tight excavation access can quickly force design changes, so a seasoned contractor catches these early before they derail your build.
Once your site checks out, your next big decision is what kind of pool you actually want to build. Your pool type drives your swimming pool installation cost, timeline, design flexibility, and long-term maintenance, so it’s worth slowing down here.
You have three main types of inground pools to weigh before locking in a shape or shell, and each one comes with trade-offs you’ll live with for decades.
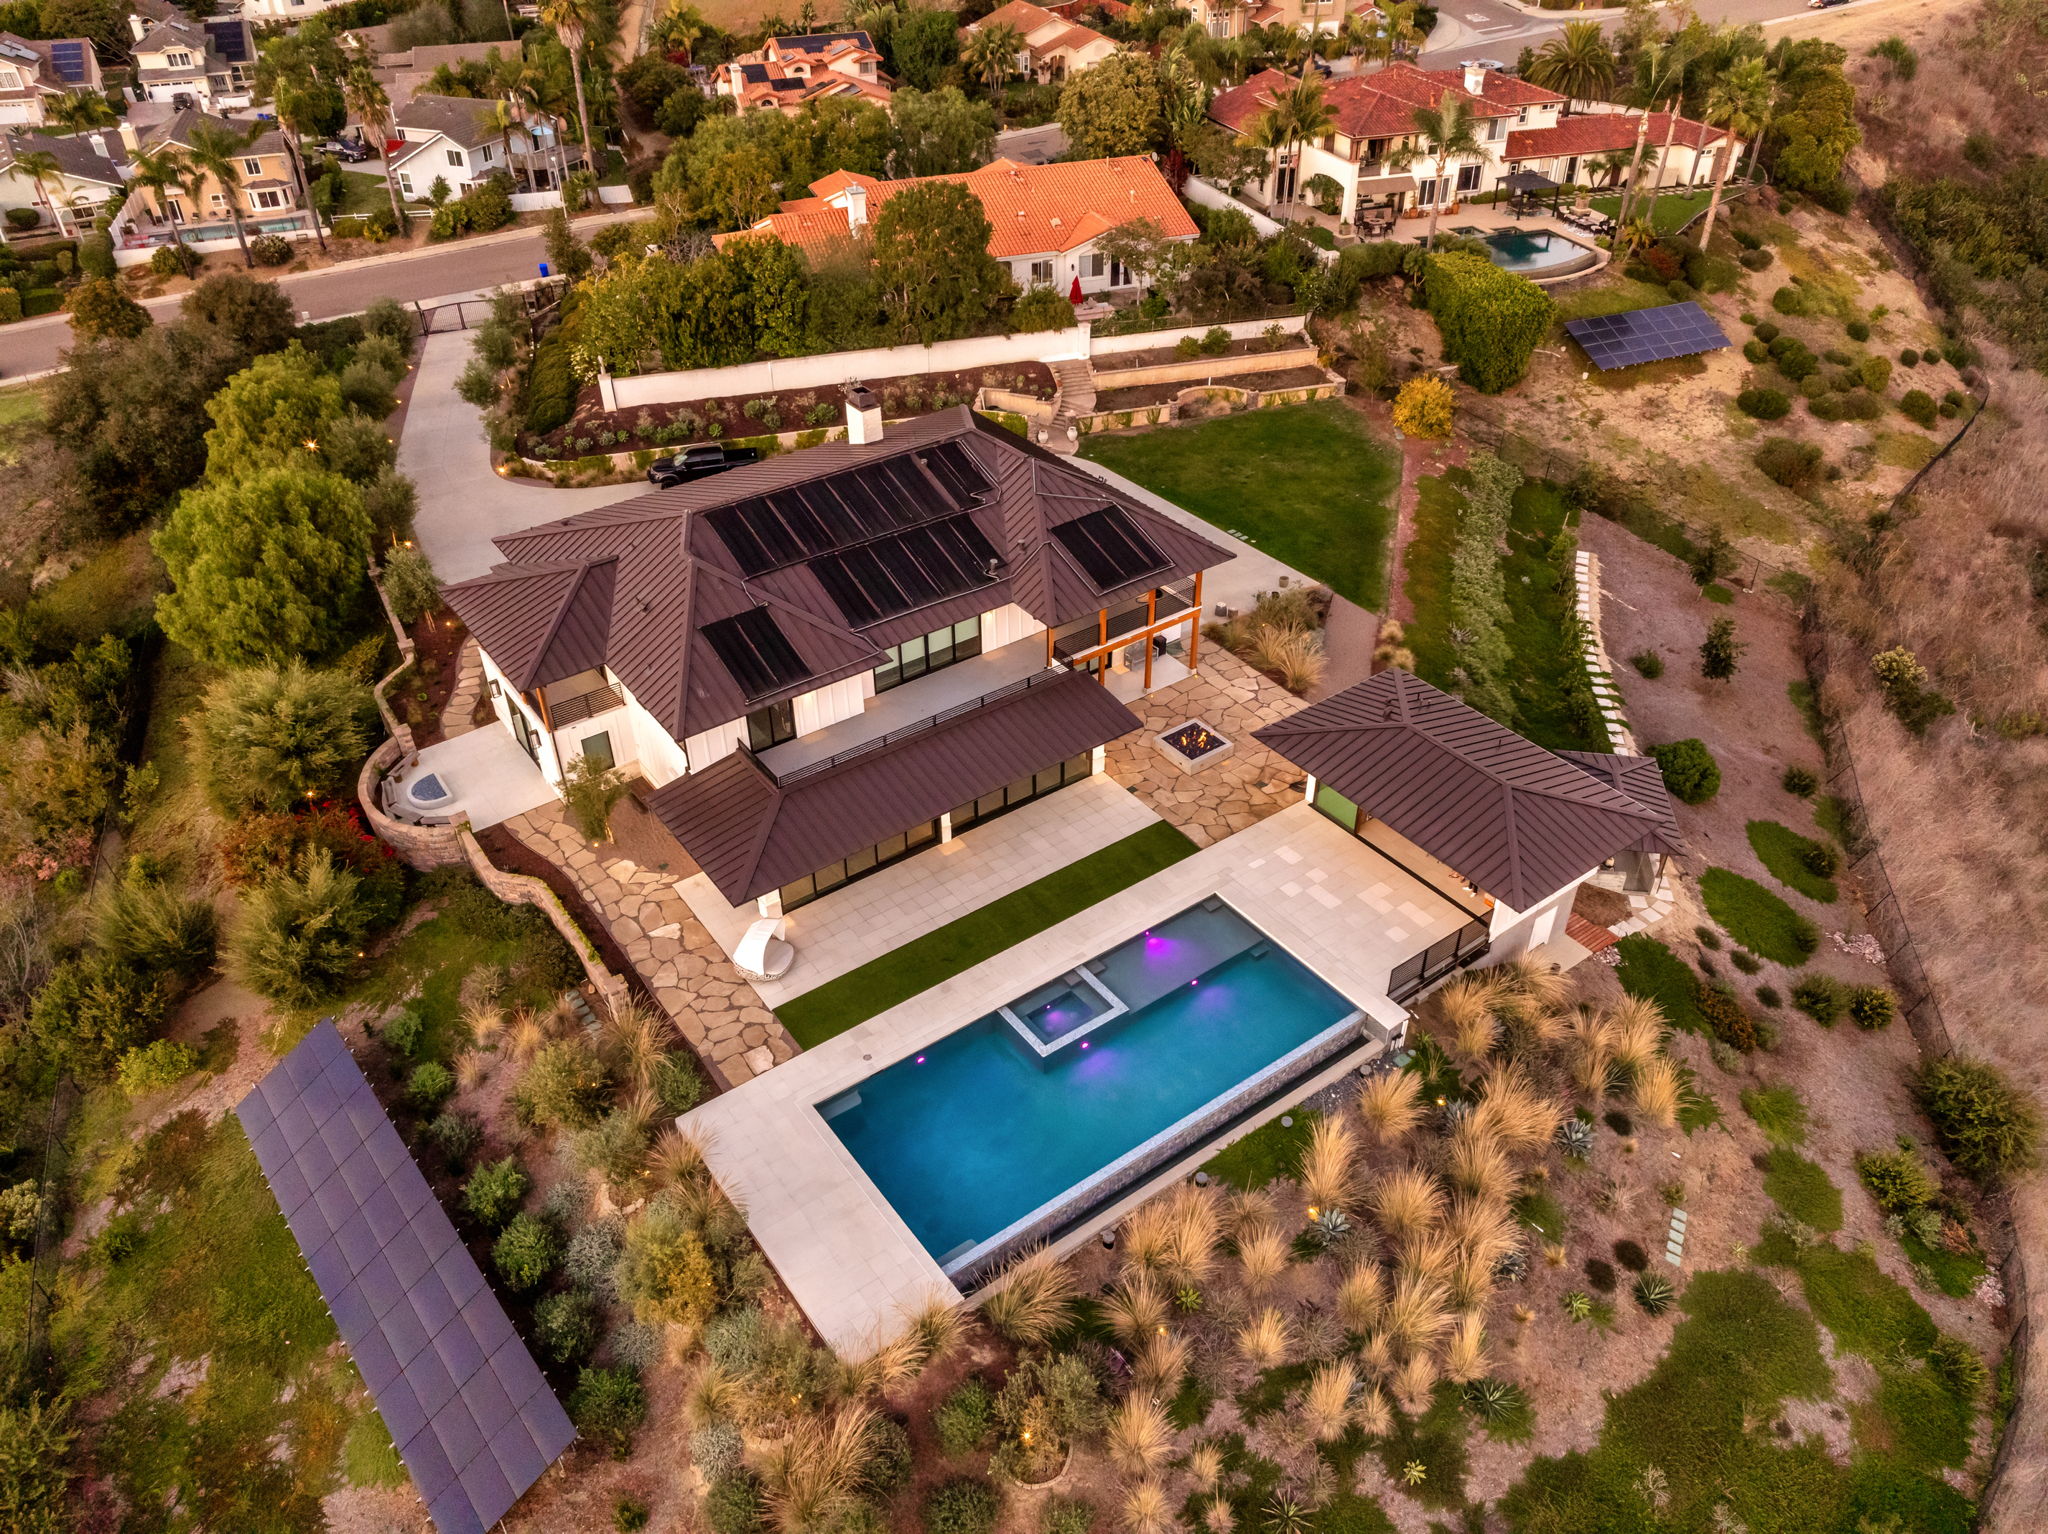
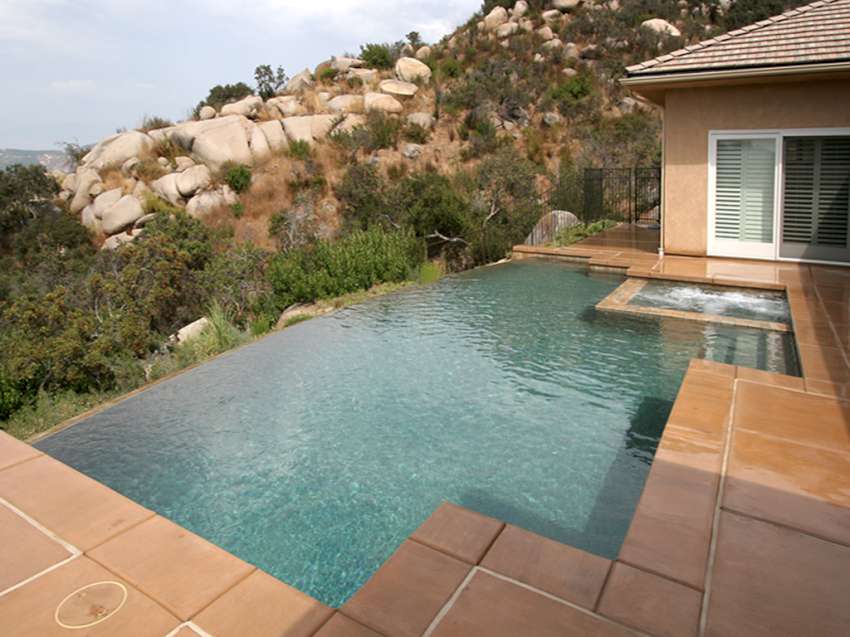
If you want full design freedom, concrete is your answer. It offers the most flexibility of any inground pool installation, which is why it dominates Southern California’s custom market.
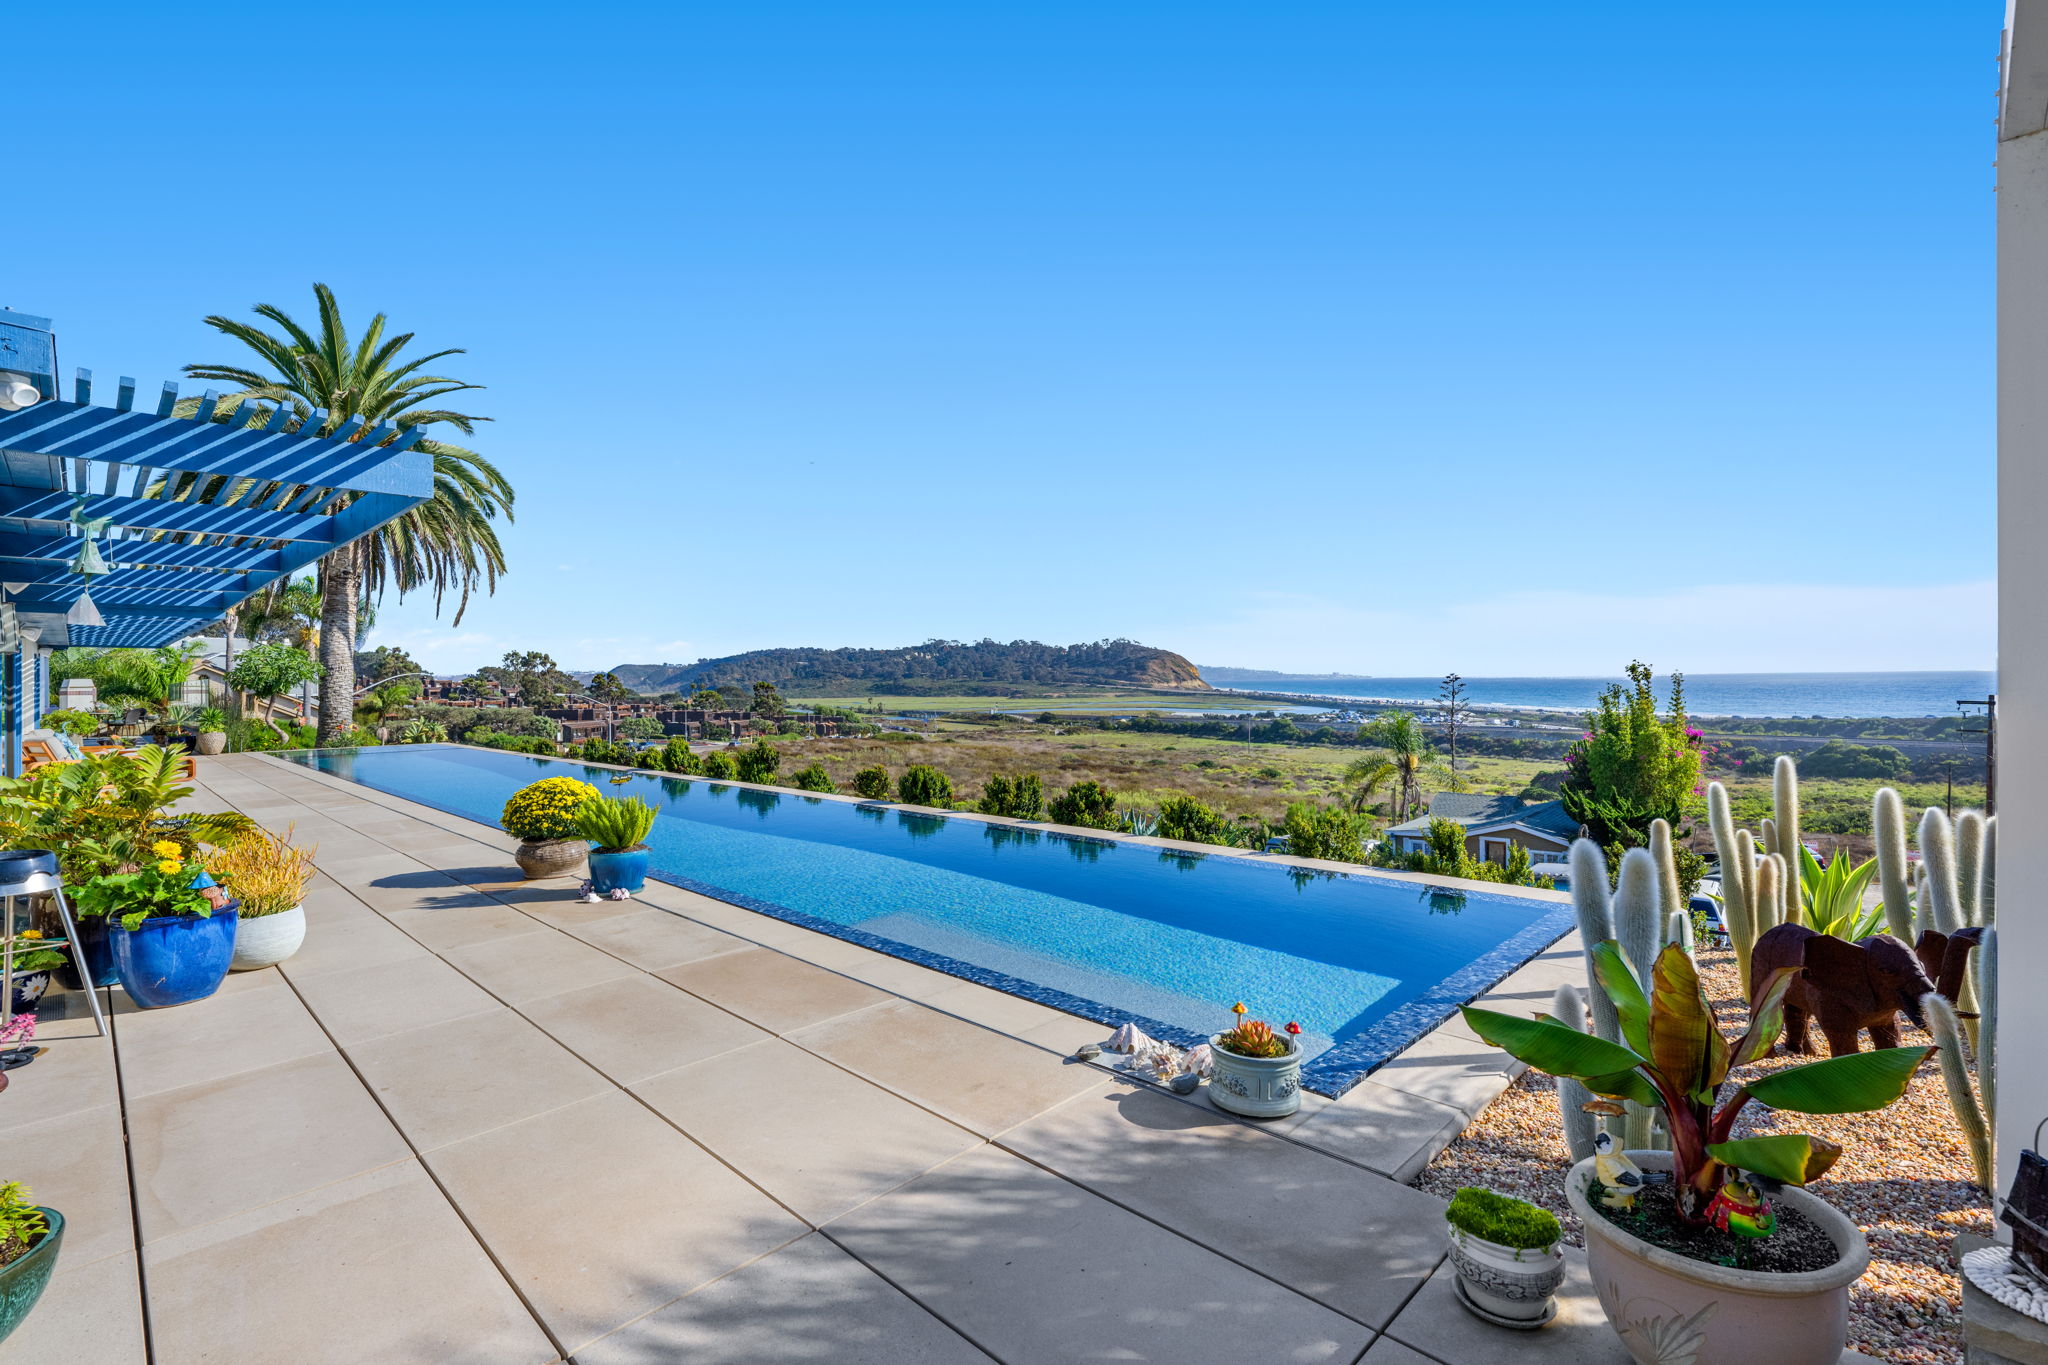
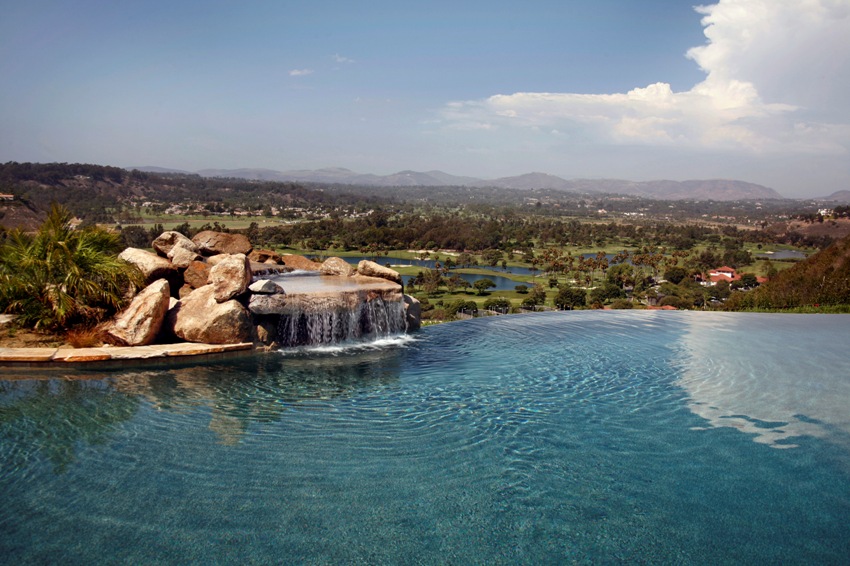
Because the shell is sprayed onto a steel rebar frame and then shaped by hand, you can build virtually any curve, depth, tanning ledge, vanishing edge, beach entry, or integrated spa you can picture.
That same hand-built process is also what gives concrete its unmatched strength.
The trade-offs come down to time and money. A standard concrete build runs 8 to 16 weeks on site, and complex custom designs can stretch to 4 to 6 months once permitting, curing, and finish work are factored in. Upfront costs also land highest of the three pool types.
In return, you get a shell that commonly lasts 50 years or more with proper care, though you’ll need to resurface the plaster every 10 to 15 years to keep it performing and looking sharp.
Fiberglass takes a completely different approach. Your pool arrives as a single pre-molded shell, drops into the excavated hole, and gets backfilled, all in just 2 to 4 weeks on site.
You also get a few built-in perks:
The catch is customization. You’re limited to manufacturer shapes and sizes, so unusual yard dimensions or custom features often won’t fit.
Vinyl liners offer the lowest upfront cost of the three, stretching a flexible sheet over a steel or polymer frame. The real price, however, shows up in durability.
Liners puncture, fade, and fail at the seams, so you’ll replace yours every 7 to 12 years. For that reason, vinyl is rare in coastal California, where homeowners prioritize longevity. At Mission Pools, our custom luxury builds are designed for decades of performance.
Once you’ve chosen your pool type, the real work begins.
Knowing how to install a swimming pool starts with understanding the sequence, because each stage feeds directly into the next. Skip or rush any step, and you’ll pay for it later through cracked shells, failed inspections, or costly rework.
Your build kicks off with a consultation, where you talk through your vision, budget, lifestyle, and yard layout. From there, designers translate that conversation into scaled 2D drawings, 3D renderings, and full construction documents.
This stage matters more than most homeowners realize. Strong upfront design is what separates a pool that matches your original rendering from one that feels compromised by the time it’s filled.
For inspiration, browse our modern swimming pool designs to see how smart planning translates into finished builds.
Once your design is locked in, the next hurdle is paperwork.
Every California city and county requires a building permit before excavation begins, and most require separate permits for electrical, plumbing, and fencing work.
On top of that, the California Swimming Pool Safety Act requires every new or remodeled pool to include at least two approved drowning prevention features, such as isolation fencing, alarms, or safety covers.
Your builder manages this entire process for you, including coordinating inspections at each stage.
With permits secured, the dig begins. Heavy equipment carves out your pool shape to exact engineering specs, including plumbing trenches, benches, steps, and any spa zones.
From there, crews haul off or reposition the excess soil for landscaping.
How long this stage takes depends on your soil conditions, backyard access, and lot slope, with most residential digs wrapping in 1 to 3 days. Finally, crews grade and compact the base so pressure distributes evenly across the shell once poured.
After excavation wraps, workers tie reinforcing steel bars into a cage that follows every contour of your pool. Each bar is spaced and overlapped according to your engineering plan, which lets the shell resist decades of soil pressure and water weight.
Before any concrete goes down, a city inspector verifies the entire layout. That check matters, because rebar mistakes buried under gunite are nearly impossible to correct later.
With the rebar approved, plumbing crews run circulation lines, main drains, skimmers, returns, and any water-feature piping. Properly sized pipes at this stage directly reduce your long-term energy costs, since undersized lines force your pump to work harder for decades.
Electricians follow close behind, pulling conduit for:
Every line is pressure-tested before concrete covers it, and an inspector signs off on both systems before your build moves forward.
With both systems signed off, your concrete shell comes to life. Crews spray shotcrete or gunite over the rebar cage at high velocity, compacting the mix as it hits the steel and building your walls and floor to specified thickness.
Industry standards from the American Shotcrete Association and ACI set a 4,000 PSI minimum compressive strength for watertight pool shells, and quality San Diego builders meet or exceed it.
San Diego itself follows the California Building Code and requires engineered, soils-reviewed plans, so your structural engineer sets the final spec. Coastal or high-sulfate soils common in the region can call for 4,500 to 5,000 PSI.
Afterward, curing begins right away. Crews keep the concrete moist for roughly seven days so it reaches peak hardness without shrinkage cracks, which matters enormously in Southern California heat.
After curing wraps, your pool starts looking like a pool. Tile and coping wrap the top edge of the shell, locking it to your deck structurally while creating the most visible design detail at water level.
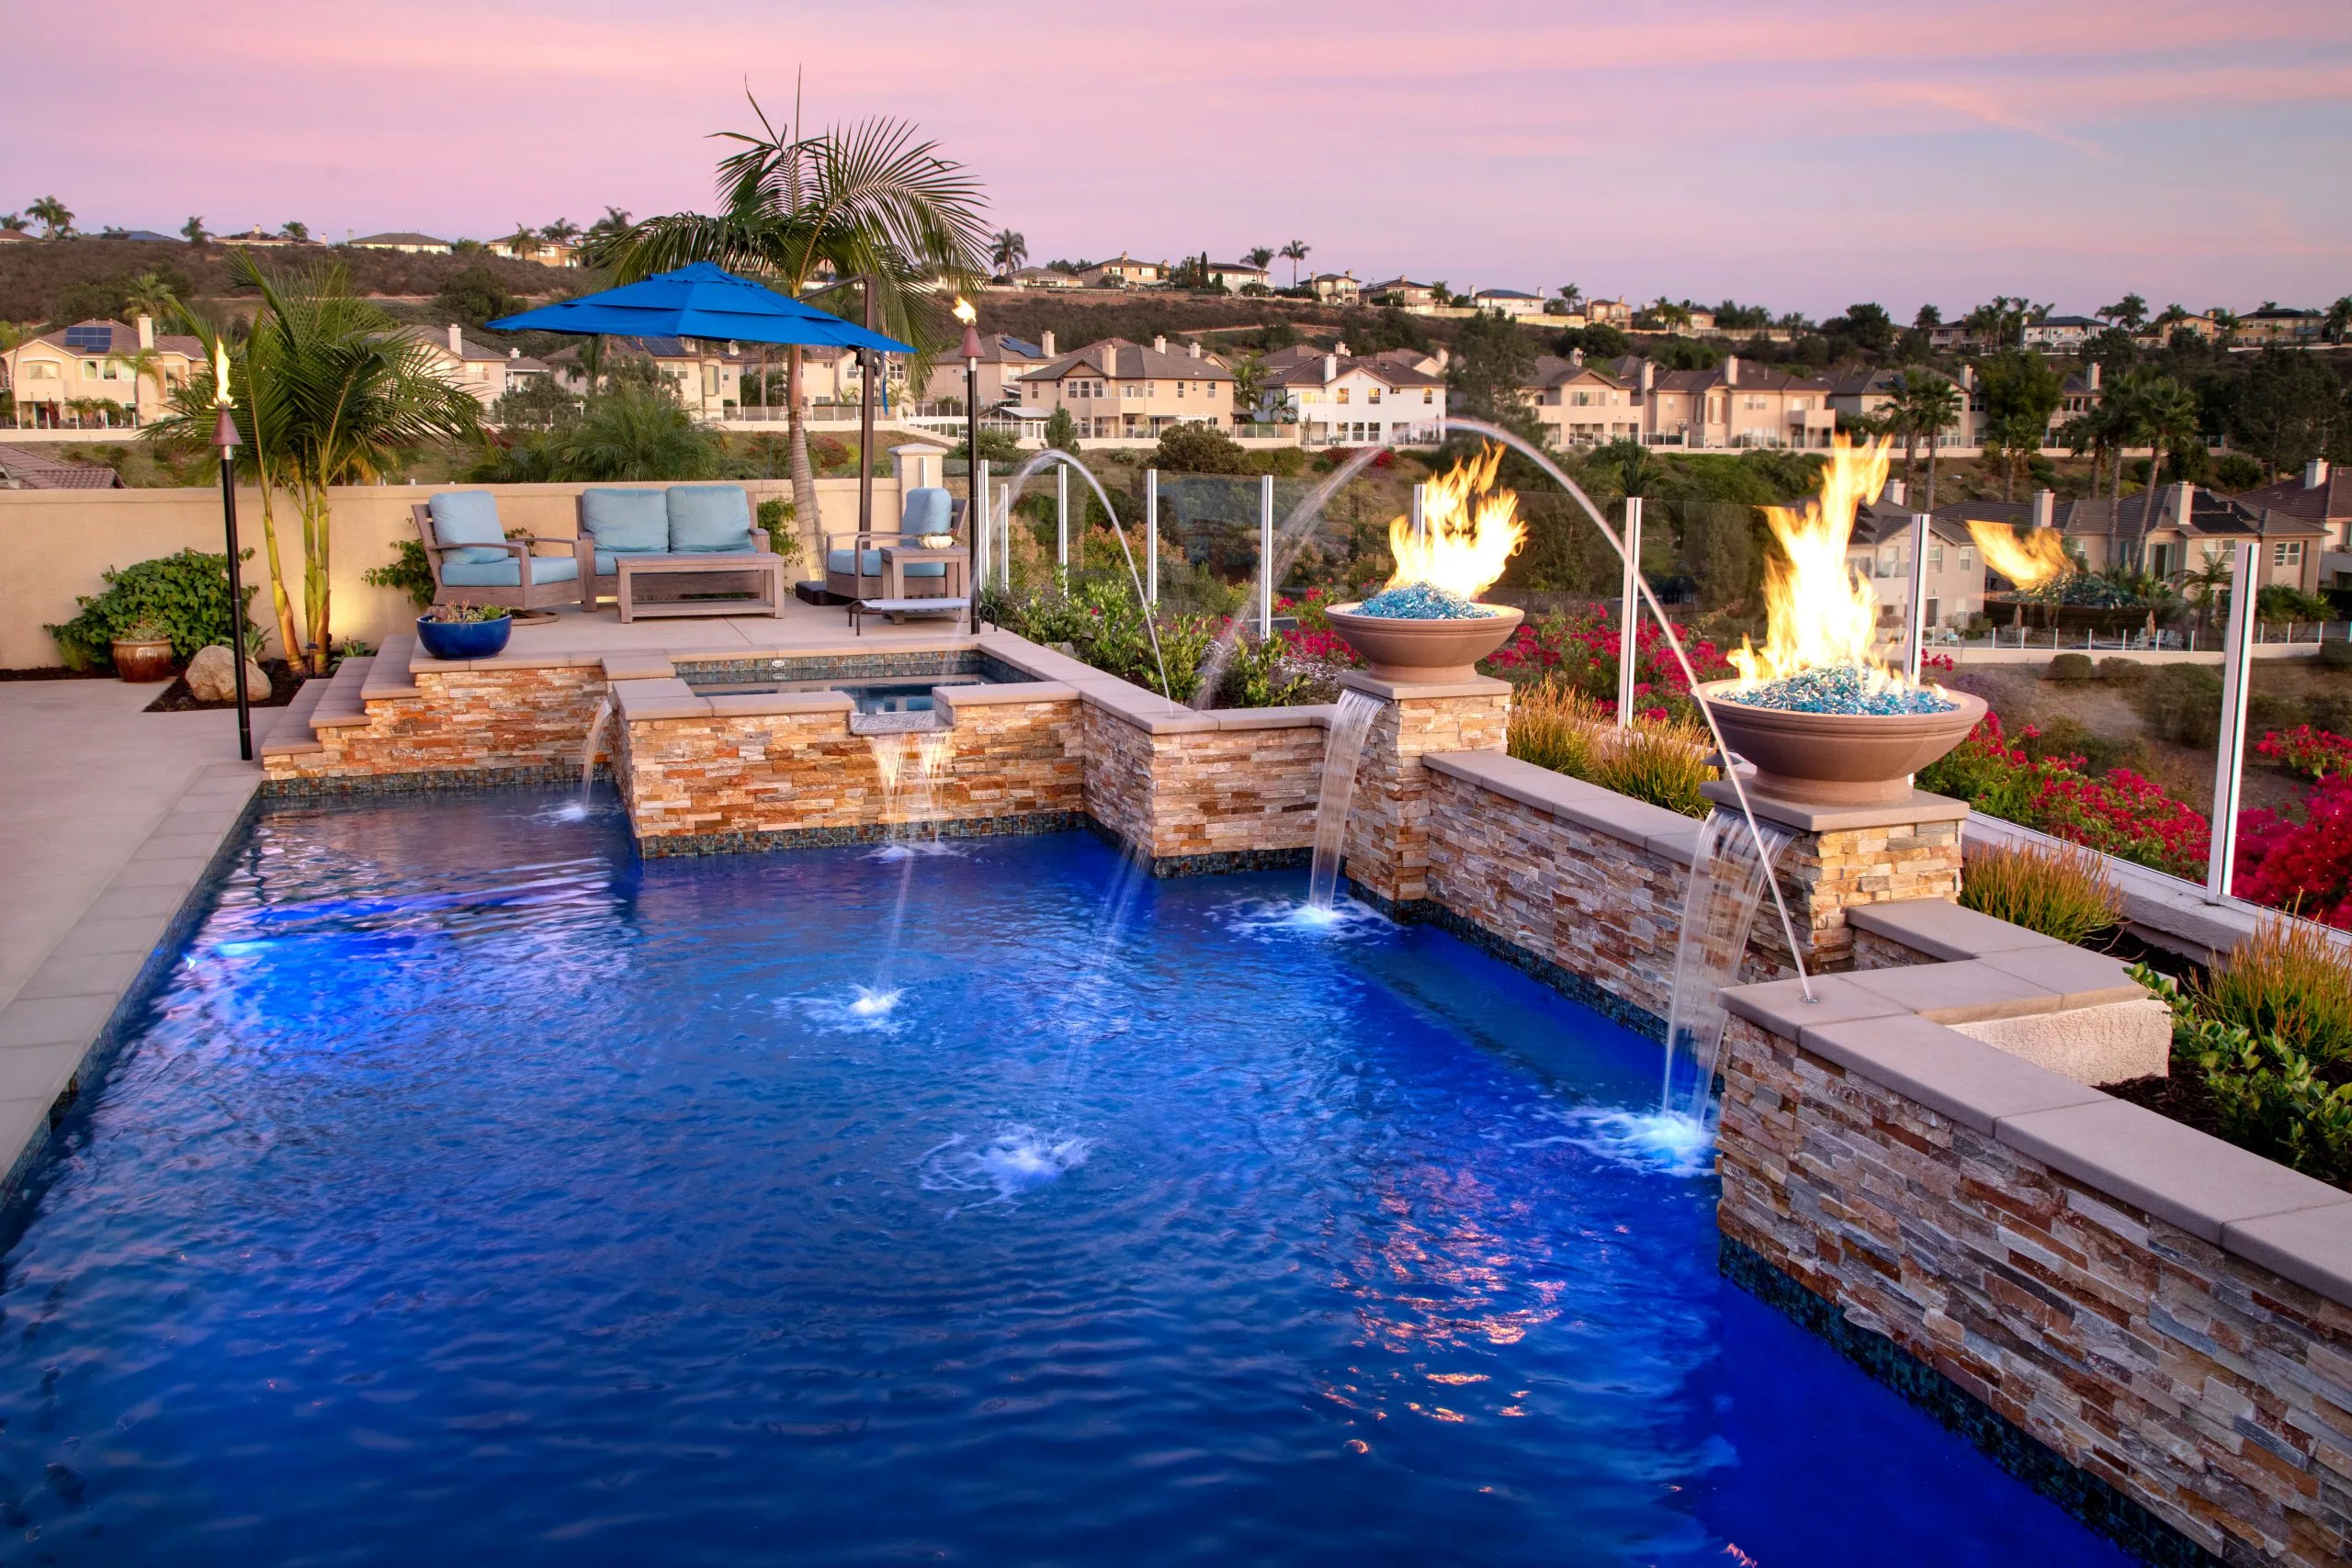
From there, the interior finish goes in. You’ll choose between plaster, pebble blends (PebbleTec, PebbleSheen), or glass tile, each with different lifespan, feel, and price.
While pebble and glass finishes cost more upfront, they last longer and resist staining better than standard plaster, making them the smarter long-term call for most Southern California builds.
Your deck extends the living space right to the water’s edge, and the material you pick shapes both the look and the lifespan of that zone. Popular options include:
Two details matter more than most homeowners realize. First, grading must direct water away from both the pool and your foundation. Second, slip-resistant texture is non-negotiable around wet zones.
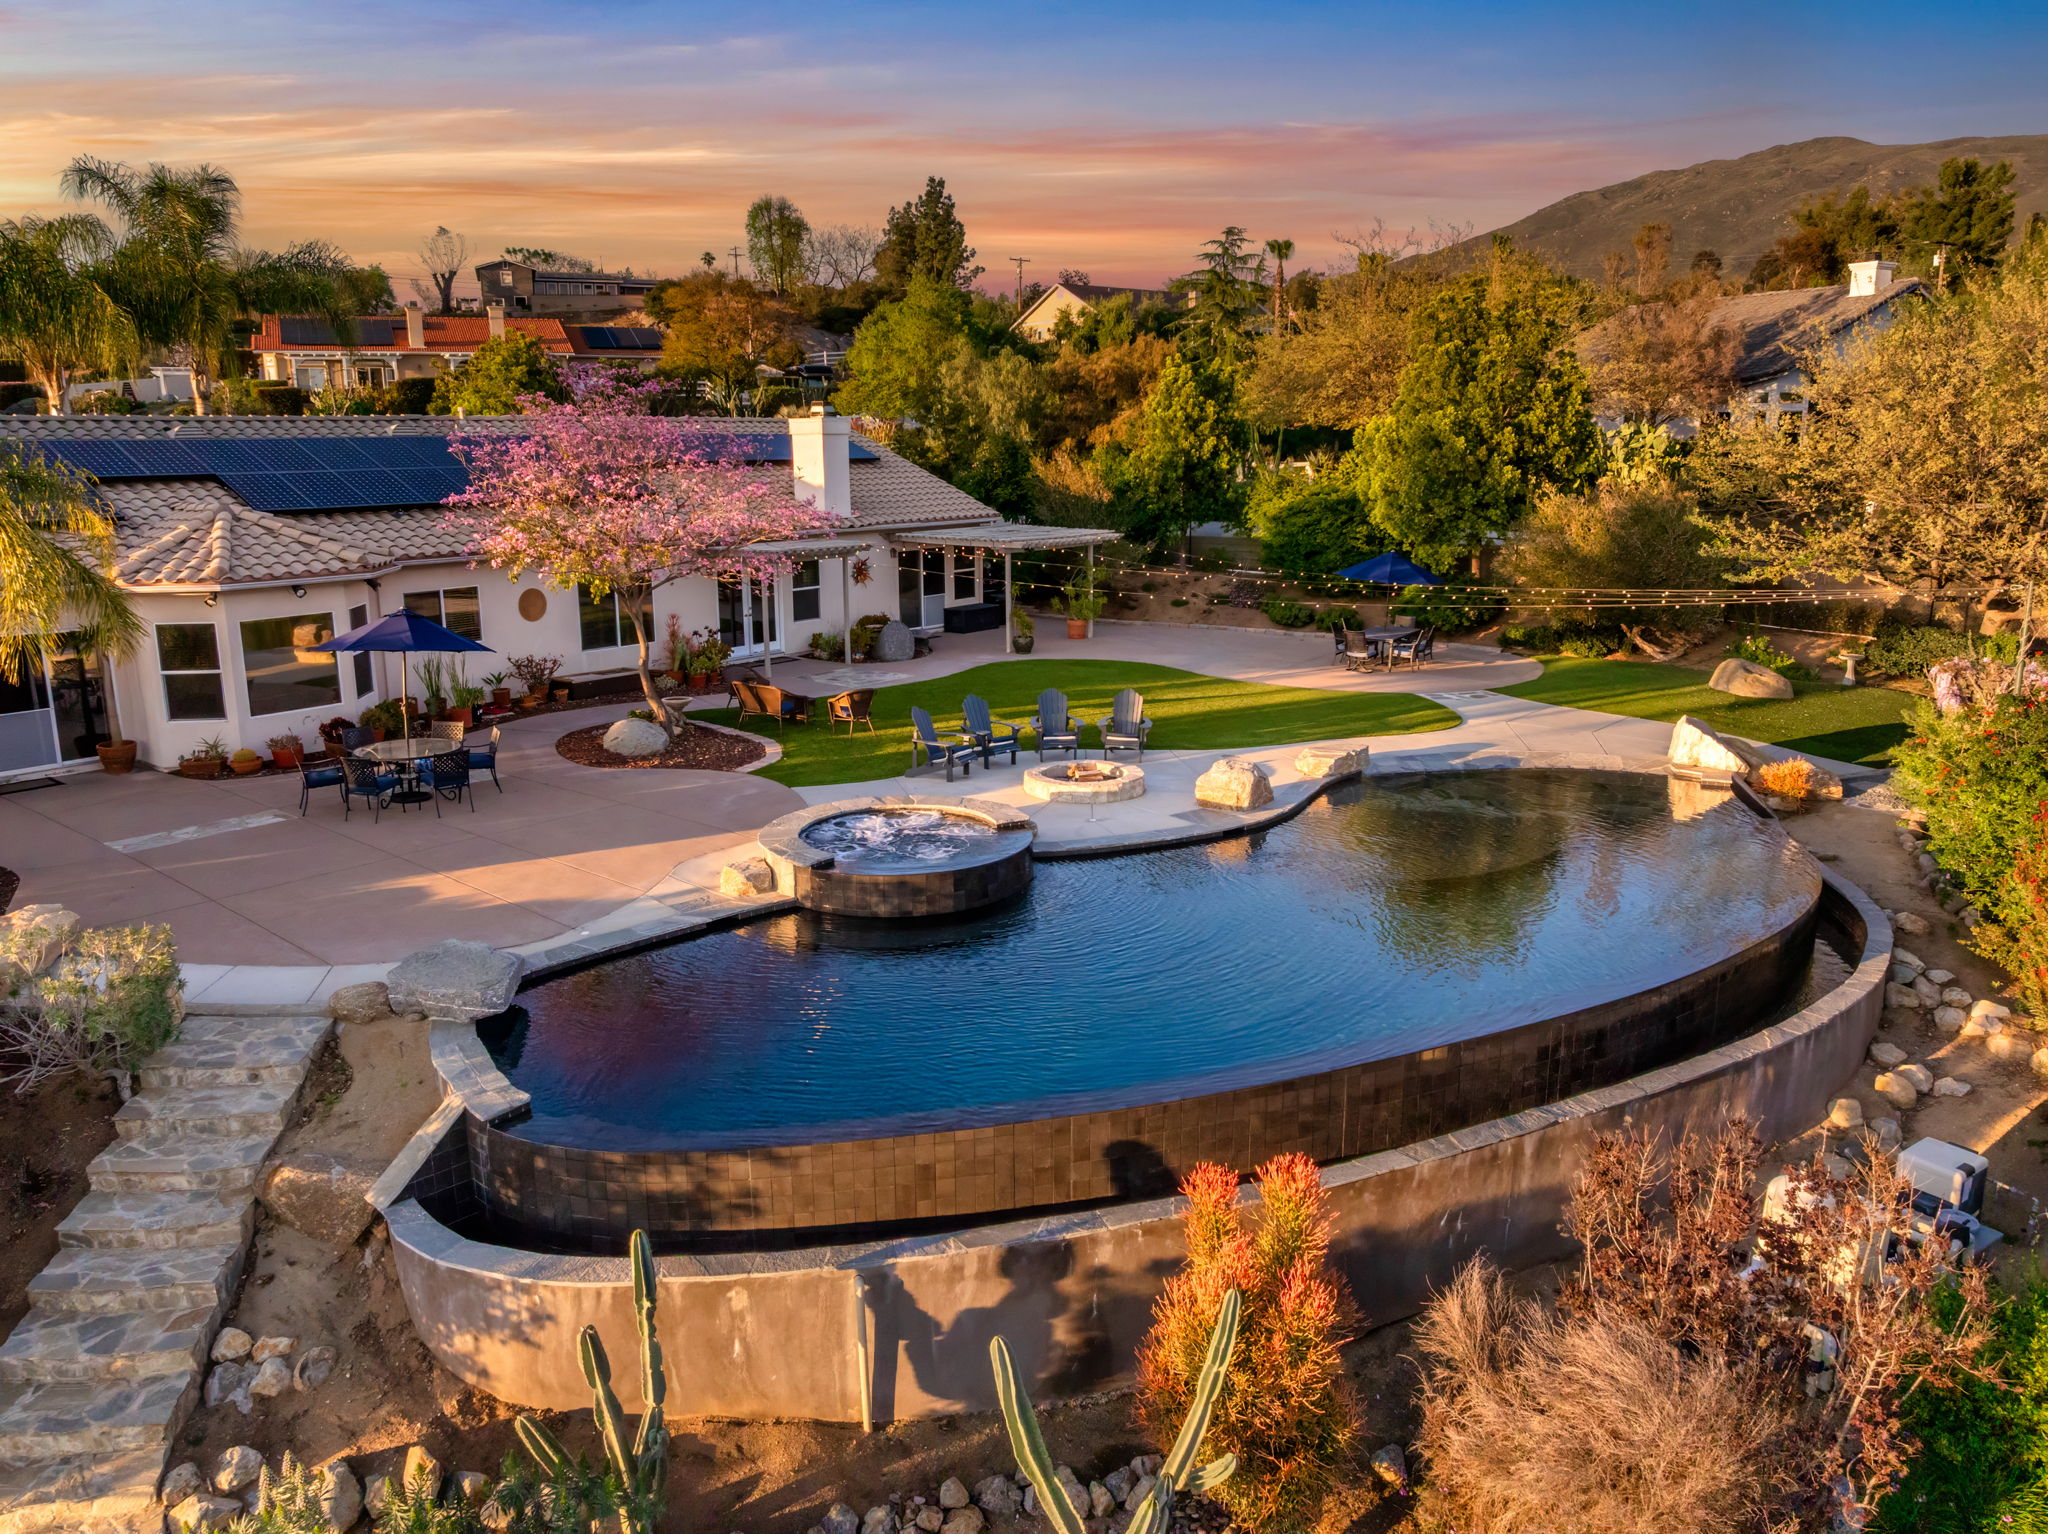
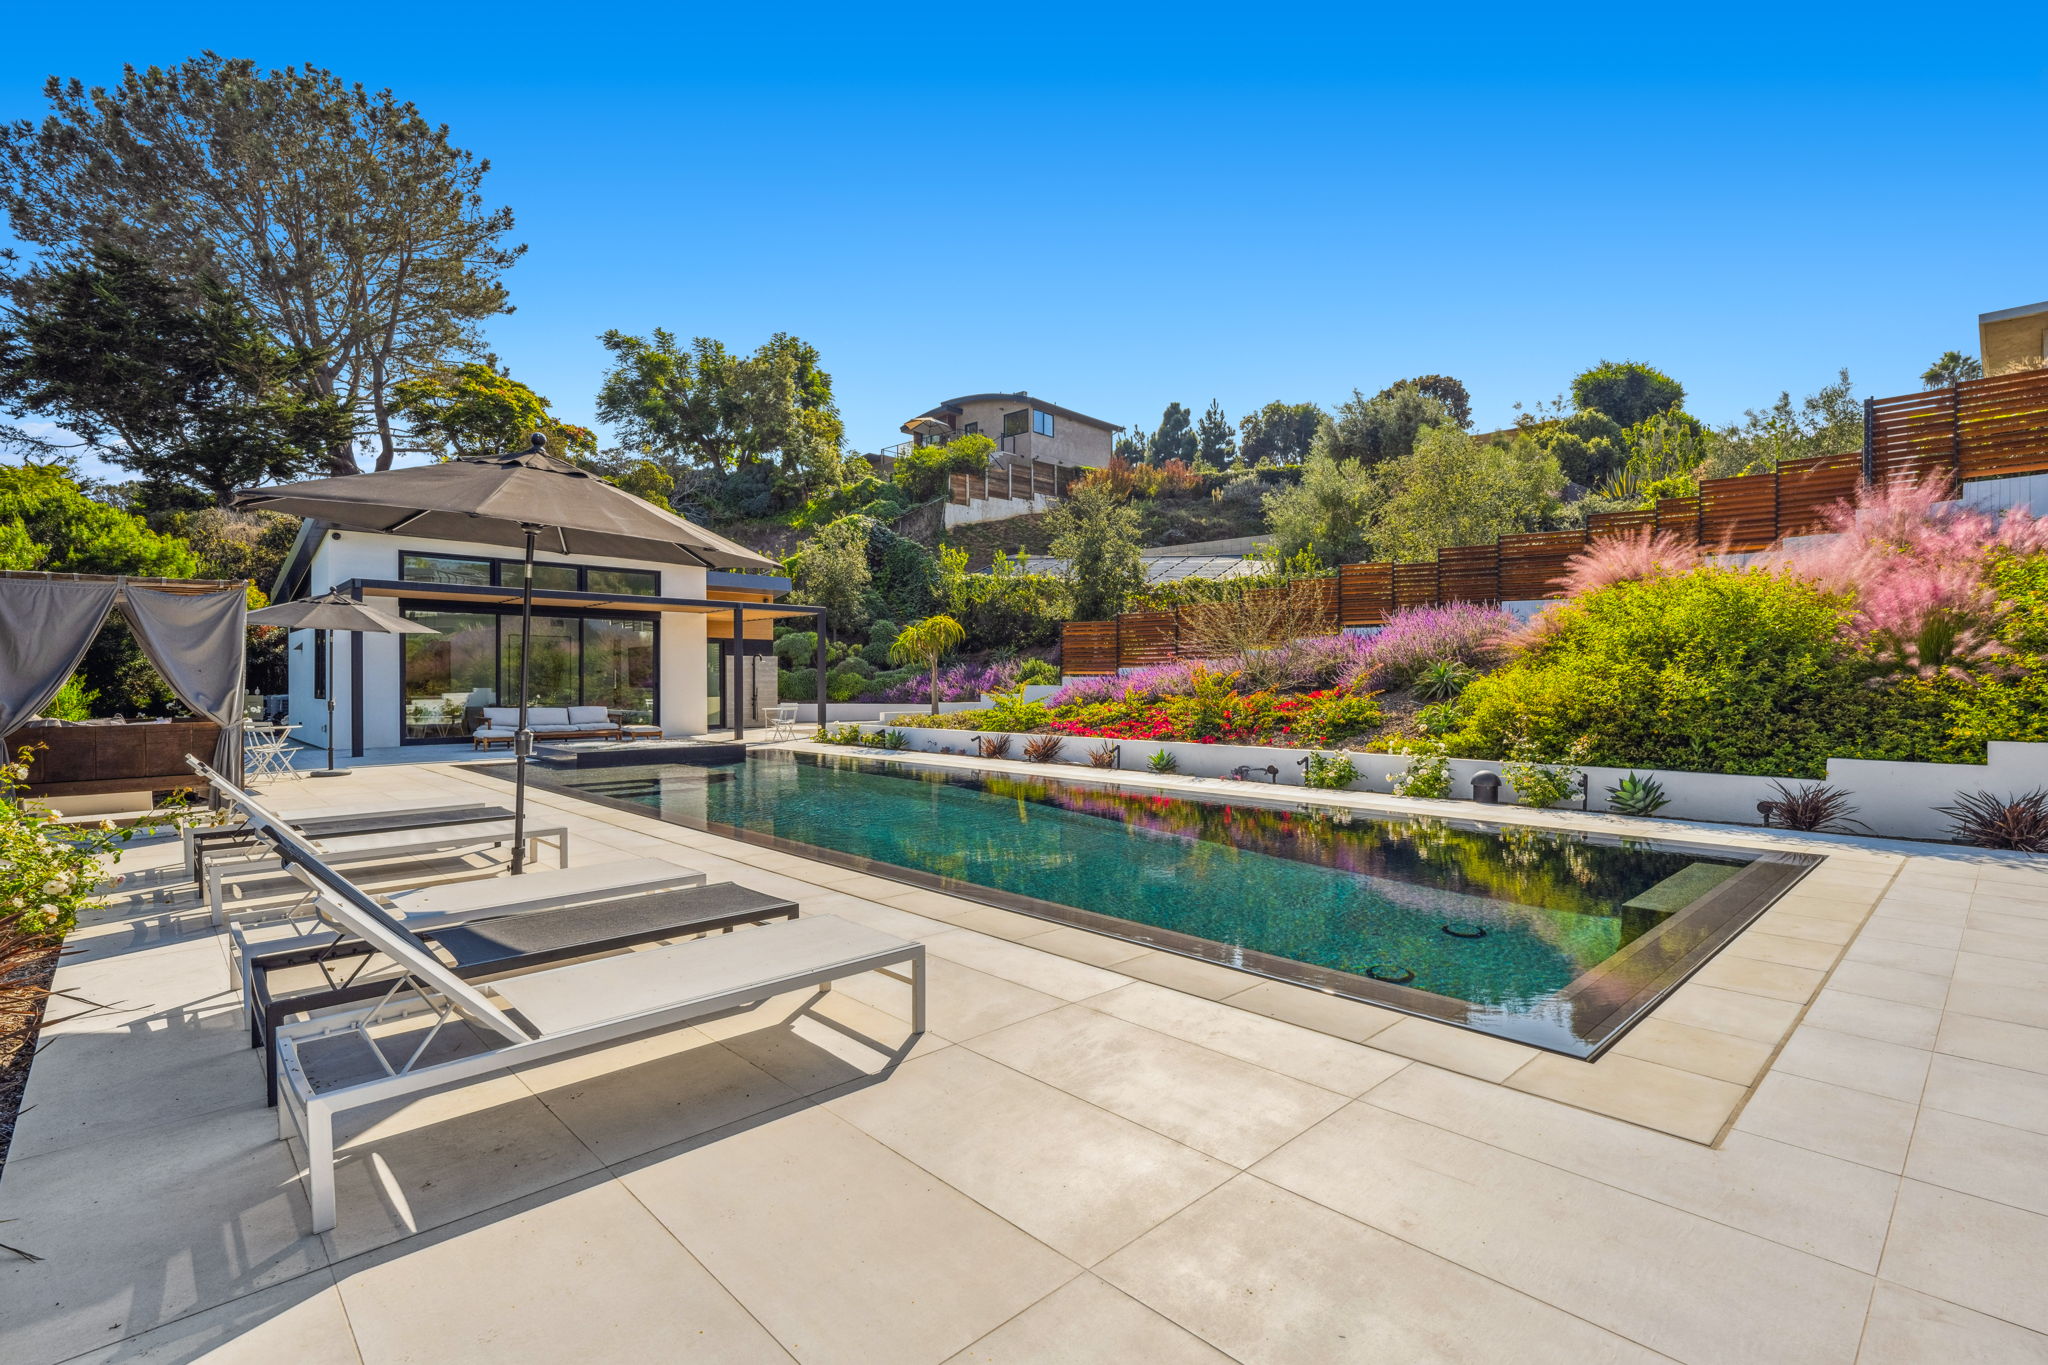
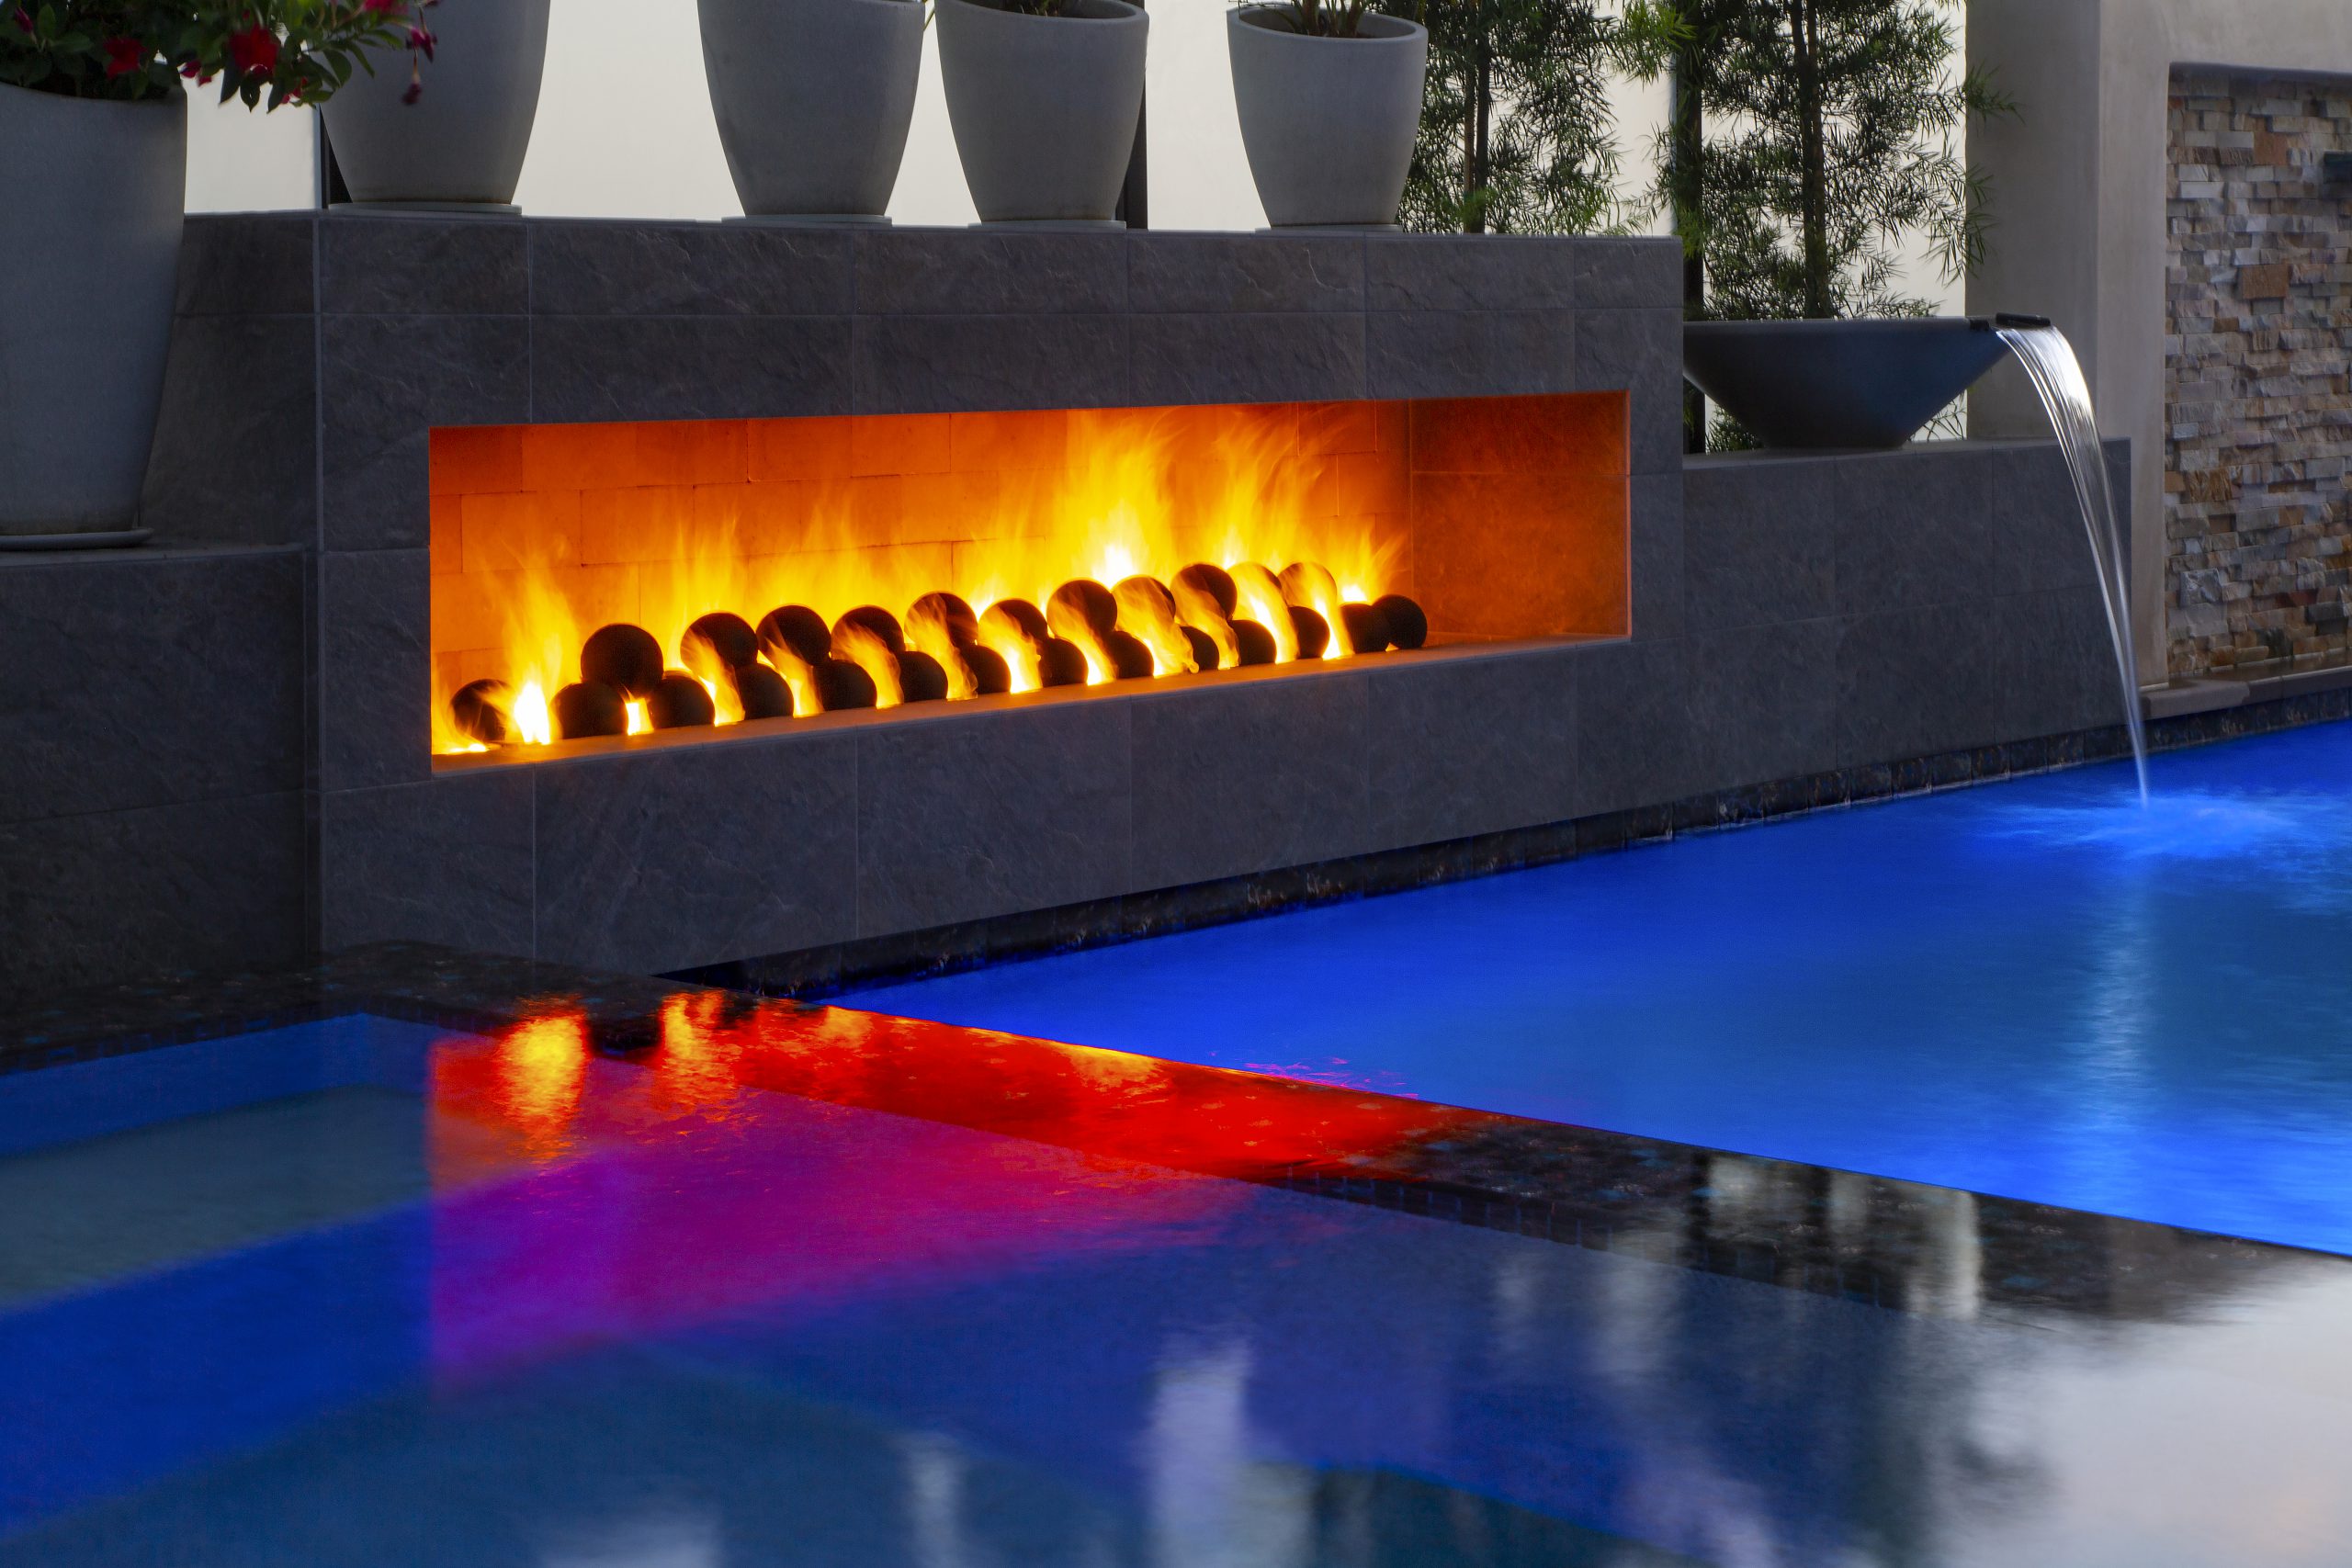
This is also when the rest of your outdoor space comes together. Fencing, landscaping, outdoor kitchens, fire bowls, and pergolas transform your backyard from a pool into a full outdoor retreat.
With decking in place, your pool is ready to come alive. Underground utility lines get tied in, and pumps, filters, heaters, sanitation systems, and automation panels are installed and integrated into one working system.
Variable-speed pumps are now standard across new California builds, and for good reason.
According to the U.S. Department of Energy, downsizing your pump and optimizing run time can cut pumping energy costs by up to 75%. From there, crews balance your water chemistry, fire up the equipment, and walk you through operation before handing over a pool ready for your first swim.
Your backyard pool installation timeline depends mostly on pool type and site complexity, but here’s a realistic breakdown of what you can expect:
Beyond pool type, weather is the single biggest schedule variable. Heavy rain delays excavation and concrete placement, while extreme heat can accelerate curing, complicating the shell stage.
On top of that, permit backlogs, supply chain hiccups, and intricate custom designs can each add weeks to your build. That’s why realistic builders factor a cushion into your schedule from day one, so you’re not left chasing a phantom completion date.
Your swimming pool installation cost varies widely based on pool type, size, materials, and features.
According to Angi’s 2026 pool cost guide, the average inground pool runs about $65,909 nationally, with most homeowners paying between $44,499 and $87,349. Southern California typically runs about 15 to 25 percent above that national average due to permitting, labor rates, and soil conditions. Angi’s own Los Angeles data puts the local average closer to $82,000.
For a local inground build, expect these general ranges:
Coastal areas like Los Angeles and Orange County trend toward the high end of these ranges, while the Inland Empire generally runs lower.
To get the clearest picture, ask your builder for an itemized proposal that breaks out excavation, materials, equipment, decking, permits, and landscaping. That way you can see exactly where your budget lands and where you can scale up or pull back.
If monthly payments make more sense, our swimming pool financing options walk through what typical pool loans look like.
A little prep work before crews arrive keeps your swimming pool installation moving smoothly.
If you’re planning a new pool construction, start by clearing the build zone of furniture, planters, grills, and anything else crews will need to work around.
Next, call your local 811 service to have underground utilities marked before excavation begins. You’ll also want to walk your yard with your contractor to confirm equipment entry points, especially if you have narrow side-yard access.
When prep happens early, your crews build faster, and your budget stretches further.
Every inground pool installation runs into surprises. The most common ones include:
Fortunately, experienced builders plan for these bumps rather than react to them.
On your side, the best protection is open communication. Expect proactive updates when something shifts, including how it affects your schedule and your cost to build a swimming pool.
The contractor you hire matters more than any single material or feature. Before signing anything, verify current California C-53 pool licensing, liability and workers’ comp insurance, and a portfolio matching the style you want.
From there, favor design-build firms that handle design, engineering, permits, and construction under one roof. Fewer handoffs means fewer miscommunications and a finished pool that matches your rendering.
At Mission Pools, our concrete construction expertise and 60-plus year track record show in every build we deliver.

A successful swimming pool installation comes down to three things: careful planning, a disciplined pool installation process, and a contractor who owns the outcome from design to startup.
When those pieces line up, your build stays on schedule, your budget stays predictable, and your pool becomes the centerpiece of your backyard for decades.
At Mission Pools, we’ve been delivering that standard across Southern California since 1960. Book your free consultation and let’s map out your first swim.
A concrete inground pool installation runs 6 to 8 weeks of construction, plus 2 to 8 weeks for design and permitting. Fiberglass installs in 2 to 4 weeks on-site. Weather and custom features can stretch your backyard pool installation timeline.
Yes. Every inground swimming pool installation in California requires a building permit, along with electrical, plumbing, and fencing approvals. Under the California Swimming Pool Safety Act, new and remodeled pools must include at least two of seven approved drowning-prevention features, such as isolation fencing. Your pool builder should manage this paperwork for you.
Spring and early summer suit Southern California because mild weather supports excavation, concrete placement, and curing. Starting in late fall or winter also works, since you skip the peak-season rush and enjoy a finished pool by your first full summer.
Yes, most homeowners live at home throughout the pool installation process. Expect noise during excavation and shotcrete, dust in the yard, and trucks coming and going. Your builder should protect driveways, coordinate access, and fence the active work zone.
Once your pool is filled and the chemistry is balanced, your builder walks you through the operation of the equipment.
Brush the plaster at least twice daily through the first weeks of the 28-day startup to remove plaster dust and protect the new finish. Our pool remodeling team handles future resurfacing when needed.
You know . . . you just do not wake up one day and decide you can be someone’s partner in business. Strong relationships take...
Southern California is known for a lifestyle second to none. Our area that started out as an arid desert has now become a land of...
Yesterday was an example of why my brother and I enjoy this business so much. Contracting is all about solving problems…problem/solution management.